Sourdough Cinnamon Rolls w/ Maple Cream Cheese Frosting

 
92673319_207173197247361_1789712545959832999_n(1).jpg


I LOVE CINNAMON ROLLS!

There is nothing in the world like a cinnamon roll. I don’t know what it is, but bagels and cinnamon rolls have a special place in my heart. I guess they both involve lots of fluffy bread with some sort of cream cheese goodness on top… Wow, I never really put two and two together before.

My love for cinnamon rolls is rooted in family holiday traditions. My mom makes her famous Christmas bread (a secret recipe) and large, gooey cinnamon rolls every year around Christmas. I’ve taken on this cinnamon roll tradition for myself, but the sourdough version. I’m currently listening to Bing Crosby sing “Happy Holiday” and dreaming of making these on Christmas morning.

I was going to keep this recipe to my sourdough cinnamon roll class, but life happens and I unfortunately had to cancel the class. However, I just can’t keep these delicious rolls from you all! So, I decided to share it anyways :)

You will need a sourdough starter for this recipe, but I’m almost positive someone you know has one. During the pandemic, it seems like making sourdough became a big thing. Just post on your Instagram or Facebook asking for a starter, and I bet you someone will answer your plea for wild yeast!

Schedule for the cinnamon rolls:

I would suggest starting the process in the evening, the day before you want to bake the cinnamon rolls.

Alternatively, you could start the process in the morning, and let the cinnamon rolls rest in the fridge overnight. The next morning, put them directly in the oven once it’s preheated without the additional rise.

Cinnamon Roll Dough:

  • 340 g. All purpose flour

  • 25 g. Honey

  • 190 g. Whole milk

  • 1 egg

  • 100 g. Active starter

  • 2 Tbs. Butter

Filling:

  • 2 Tbs. butter

  • 3/4 c. Brown sugar

  • 1 Tbs. cinnamon 

Maple Cream Cheese Frosting:

  • 2 Tbs. room temperature butter

  • 1/3 c. room temperature cream cheese

  • 1/4 c. maple syrup

  • 1-2 Tbs. milk


Directions:

  1. Heat the butter in a small sauce pan over low heat. Once the butter is melted, remove from the heat. Add the milk and honey, and whisk until combined.

  2. Pour 100 g. active starter into a large mixing bowl. Add the milk/honey/butter mixture, the salt, and the egg. Whisk until well combined. 

  3. Add the flour, and mix everything together with a spatula until there are no more dry bits. Transfer the dough into a lightly floured surface, and gently knead for 2-3 minutes, or until the dough is smooth and elastic. 

  4. Transfer the dough to a bowl, cover with plastic wrap, and let sit overnight (8-12 hours). The dough should be doubled in size when it’s finished rising.

  5. To make the cinnamon rolls, roll out the dough into a large rectangle about 1/4 inch thick. Spread 2-3 Tbs. butter over the sheet of dough. Sprinkle 1 Tbs cinnamon and 3/4 c. Brown sugar over the butter. Roll up the dough starting on the longer side of the rectangle, then slice into 8 cinnamon rolls.

  6. Place the individual cinnamon rolls in a parchment-lined square baking dish or a spring form pan. Let rise again for 1-2 hours, or until the dough puffs up a little bit.

  7. Bake the cinnamon rolls at 350 for 35 minutes. Check after 30 minutes to see if they’re beginning to brown on top.

  8. To make the frosting, use a hand mixer to beat together the ingredients until smooth and fluffy. Add additional sweetener if needed.

Simple Green Smoothie

It’s HOT this week. My daily lunch routine has become a cold and creamy smoothie, and I’m not mad about it. Today I sat on the back deck, the sun almost too warm, slowly sipping this nourishing goodness . It was dreamy.

Even if you’re not somewhere warm, this is still a wonderful, nutrient-dense breakfast or lunch option. It’s simple, just the way I like it :)

 
green smoothie-min.jpg
 

Have you ever tried to make a green smoothie and it just comes out a weird brown color? Yeah, me too. The color of a smoothie makes a big difference for me. If my smoothie is the color of poop, I simply just won’t enjoy it as much. Sorry if that was a little too honest right before you follow a recipe… BUT this is a green smoothie that actually comes out green! You will feel so much more refreshed drinking something that is this beautiful color.

Ingredients:

  • 1 frozen banana

  • 1 date

  • 2 large handfuls spinach

  • 1 c. nut milk

  • 1 handful of ice

  • 1 scoop collagen peptides

  • 1/4 c. greek yogurt or coconut yogurt

Instructions:

Just put all the ingredients in a blender and BLEND! Top with a little granola if you’d like!

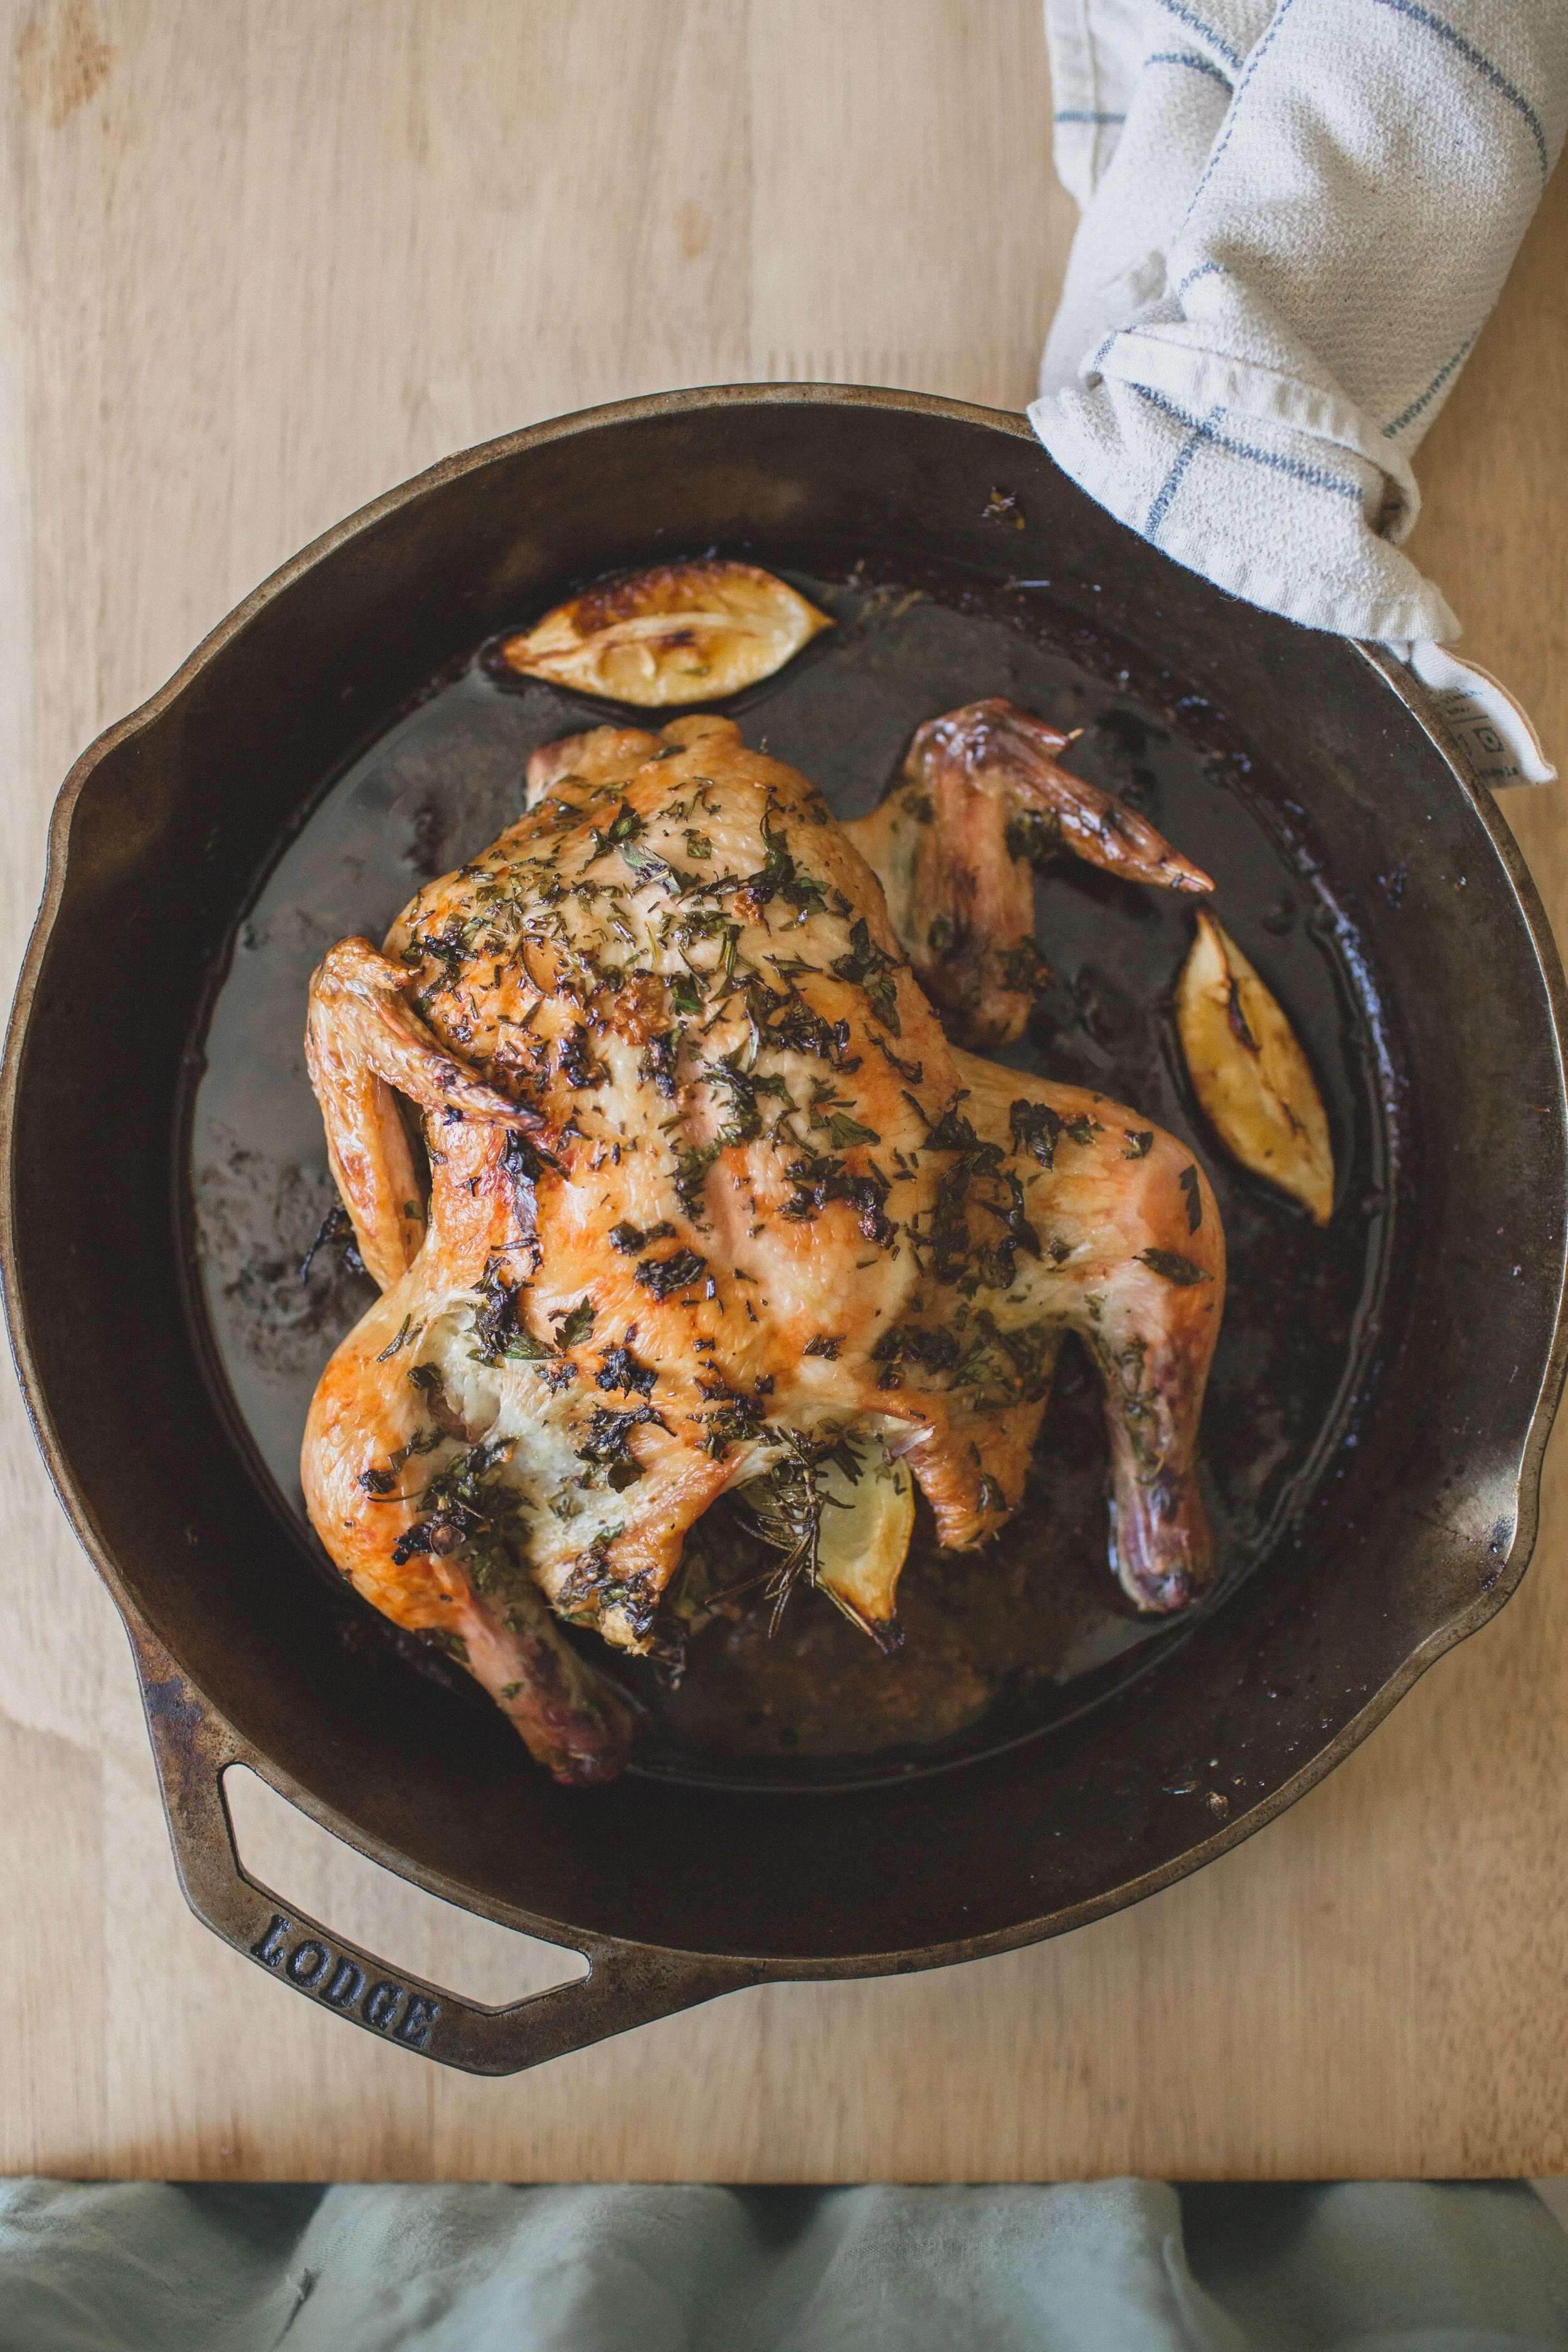
How To Roast A Whole Chicken

 
how to roast a whole chicken
 

I’m going to show you how to roast a whole chicken. Let me start by saying “DO NOT FEAR”. It’s actually easier than cooking a chicken breast, in my opinion. I used to be so intimated by a whole, uncooked chicken. What do I do with it? Also, what’s the point of buying one when I can just buy a package of chicken breasts or thighs?

Well, I eventually decided to give roasting a whole chicken a try. And guess what? It was easy. Not only was it easy, but I was completely blown away by how flavorful and tender the chicken was. It was BY FAR the best chicken I’d ever cooked in my life.

Now that I’ve conquered my fear of whole chickens, I roast them all the time. It provides healthy protein for us all week long, it’s cheap, and I can even use the chicken bones to make broth.

I made a video on instagram that you can find here, and here is the written recipe for you as well:

How To Roast A Whole Chicken

Ali Beck | April 16, 2020

  • prep time: 5 min.
  • cook time: 1 hr. - 1.5 hrs.
  • total time: 1.5 hrs.

Servings: 6-8

Ingredients:

  • 1 whole, raw chicken
  • 1 tsp. sea salt
  • 1 lemon, sliced
  • 1/4 c. fresh herbs, finely chopped (rosemary, parsley, thyme, or oregano are all great options)
  • 4 cloves garlic, minced
  • 1 Tbs. ghee or avocado oil

Instructions:

  1. When you buy your chicken, remove it from its packaging and coat the skin in 1 tsp. sea salt. Rub the salt all around the chicken, and transfer to a large bowl. Cover the bowl and place in the fridge for up to two days, until you are ready to roast the chicken.
  2. When you're ready to roast the chicken, preheat the oven to 425 F.
  3. Mince the 4 cloves garlic, slice the lemon into four wedges, and finely chop the fresh herbs.
  4. Remove your chicken from the fridge, and transfer (breasts facing upwards) to a cast iron skillet or a glass or porcelain baking dish. Rub the oil and garlic all over the chicken, even underneath the skin of the breasts. Sprinkle the fresh herbs all over the chicken, and juice half the lemon wedges over the top of the chicken. Stuff the inside of the chicken with the remaining lemon wedges and some additional fresh herbs (these don't need to be chopped).
  5. Transfer the chicken to the oven, and roast for at least an hour, or until the internal temperature of the chicken reaches 155.
  6. Let cool and serve! I like to remove all the chicken meat from the bones and store in a tupperware to quickly use for salads, sandwiches, etc.

Print Friendly and PDF

The Everyday Salad

 
The Everyday Salad
 

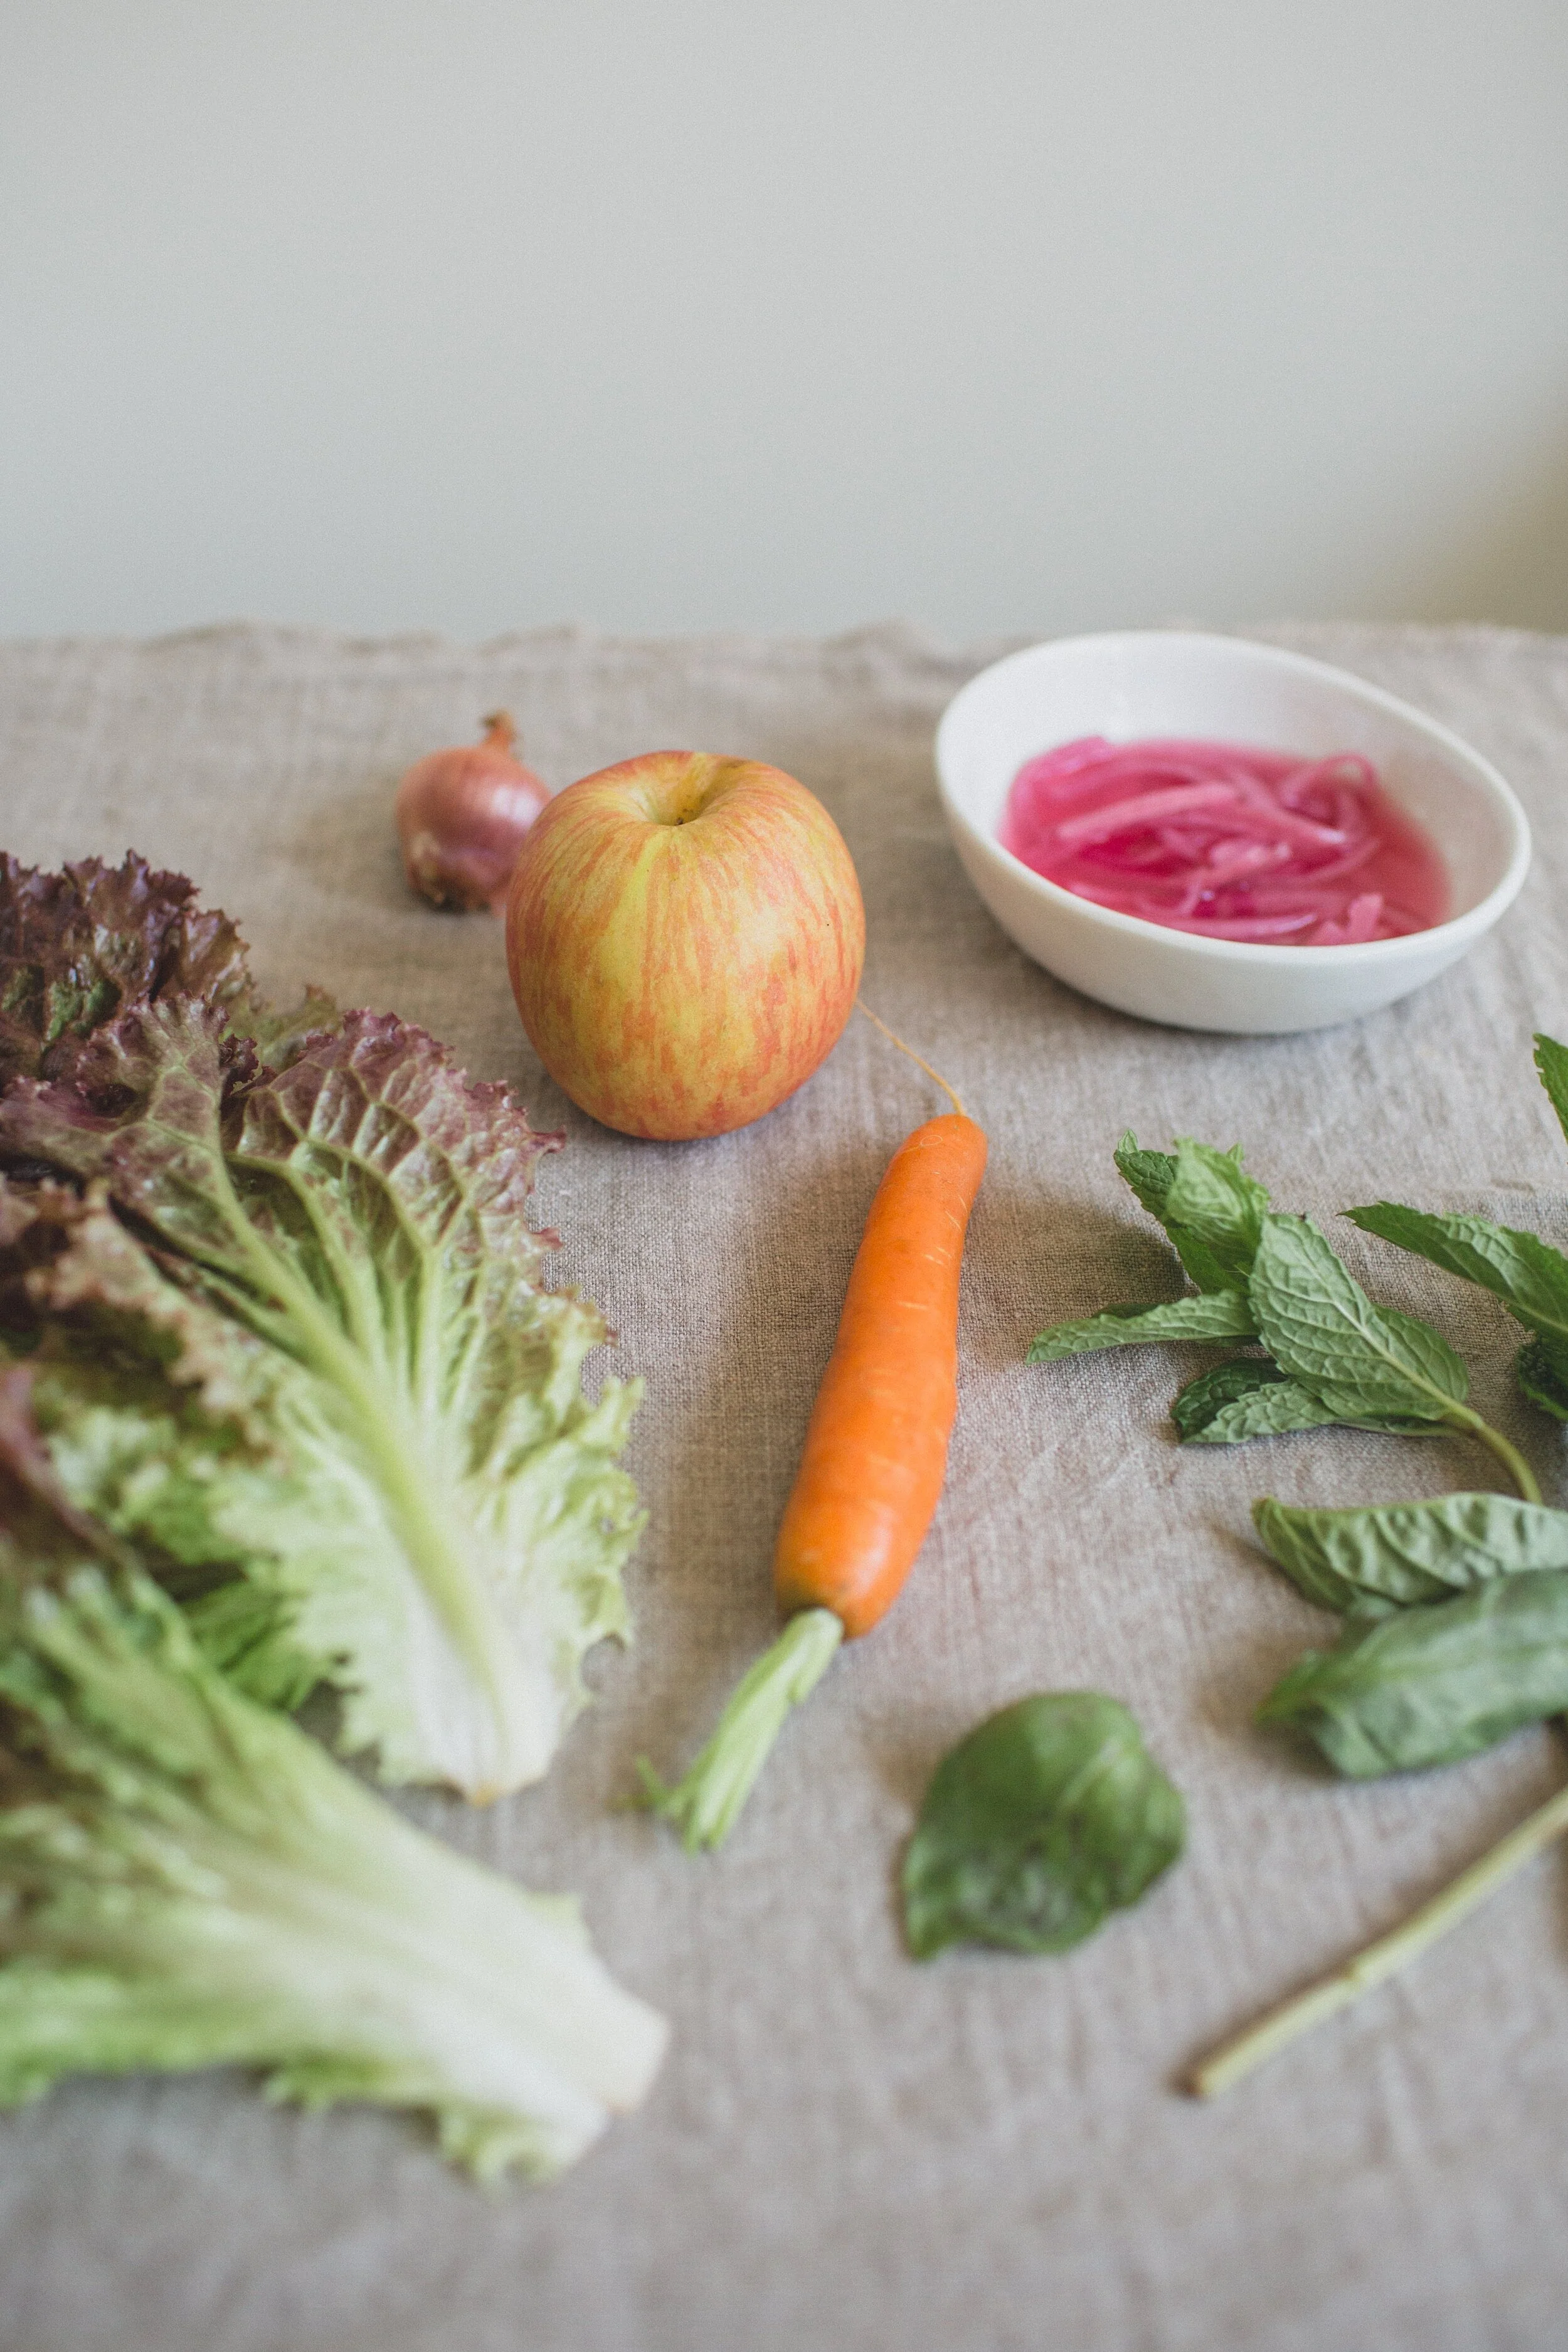
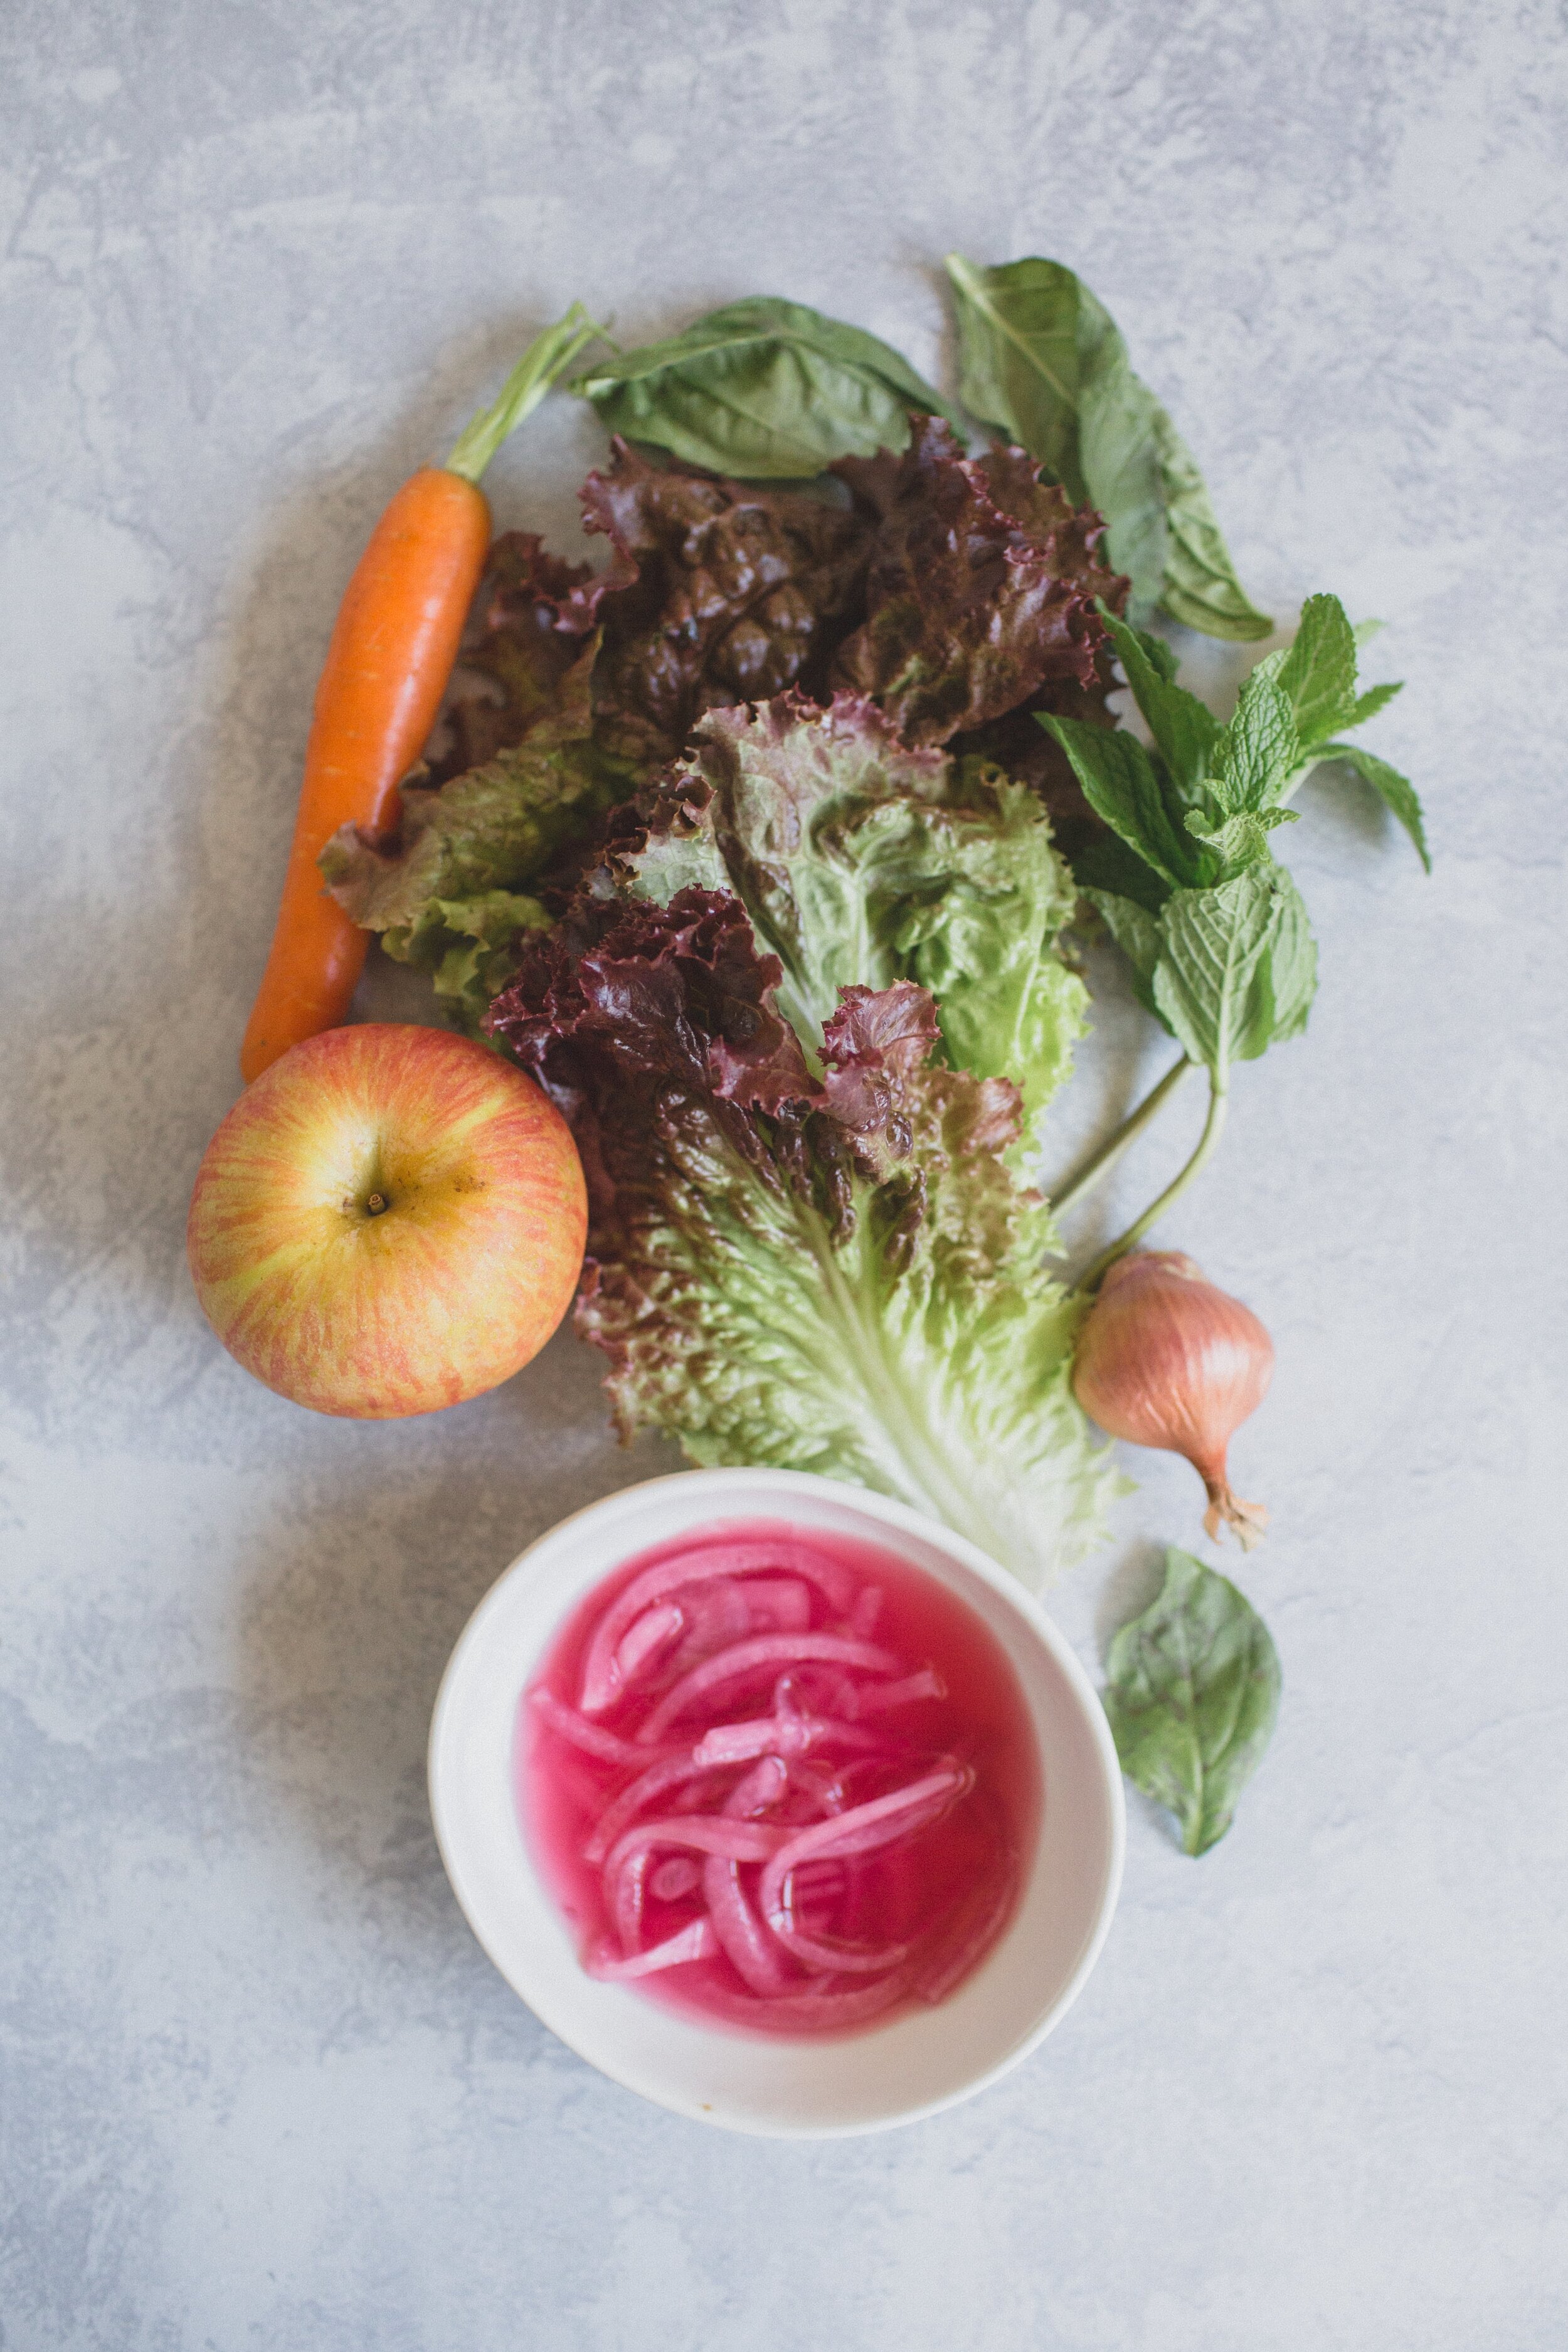
I call this the “Everyday Salad” because I quite literally have it almost every day. It never ceases to satisfy us with its wonderful flavor, texture, and versatility. It is the perfect base for pretty much anything you want to put on top — seasonal fruit, fresh veggies, salmon, chicken, chickpeas, or lentils are my go-tos.

There’s a few key things to keep in mind when making a salad to ensure that it will taste delicious:

  1. Fresh lettuce: If you get your lettuce at the farmer’s market, you won’t regret it. The next best thing is to buy whole heads of lettuce at the local grocery store. Right when you get home from your shopping trip, wash each leaf of lettuce, and lay them out on a kitchen towel. Roll up the towel with the lettuce inside, and place in the vegetable drawer in your fridge. You will have fresh, clean, and crisp lettuce for at least a week!

  2. Fresh herbs: If there’s one thing that changed my salad game, it’s the addition of fresh herbs. Flavor beyond belief. Trust me.

  3. Texture: I love adding texture to my salads through the use of seeds (sunflower, pumpkin, flax) or chopped nuts (walnuts, pecans, pistachios).

  4. A good dressing: A good vinaigrette can make any salad taste better! I go between red wine vinegar, balsamic, and apple cider vinegar, but I always use a high quality olive oil, dijon, and minced shallot in my dressings.

everydaysalad-4-min.jpg
everyday salad

The Everyday Salad

Ali Beck | April 16, 2020

  • prep time: 5 min.
  • total time: 5 min.

Servings: 2

Ingredients:

  • 1 head fresh lettuce (red leaf and butter lettuce are my favorites)
  • 1/2 apple, thinly sliced
  • 1 large carrot, thinly sliced
  • 1/4 c. finely chopped fresh herbs (mint and basil are my favorites)
  • 1/4 c. pickled red onions
  • 1/4 c. seeds or chopped nuts (pumpkin seeds, sunflower seeds, pecans, walnuts, hazelnuts, or pistachios)
  • 1 oz. goat cheese
  • Optional: chickpeas, lentils, salmon, or roasted chicken for protein

Vinaigrette:

  • 1/4 c. olive oil
  • 2 Tbs. red wine vinegar
  • 2 tsp. dijon mustard
  • 1-2 tsp. maple syrup
  • 1 small shallot, minced

Instructions:

  1. Tear clean lettuce into a large salad bowl. Thinly slice the apple and carrot, and finely chop the fresh herbs. Add the apple, carrot, herbs, seeds, goat cheese, pickled red onions, and other optional toppings to the salad bowl.
  2. Mince the shallot, and whisk together the shallot and the rest of the vinaigrette ingredients in a jar or small bowl.
  3. Toss the salad with the vinaigrette and serve!

Print Friendly and PDF

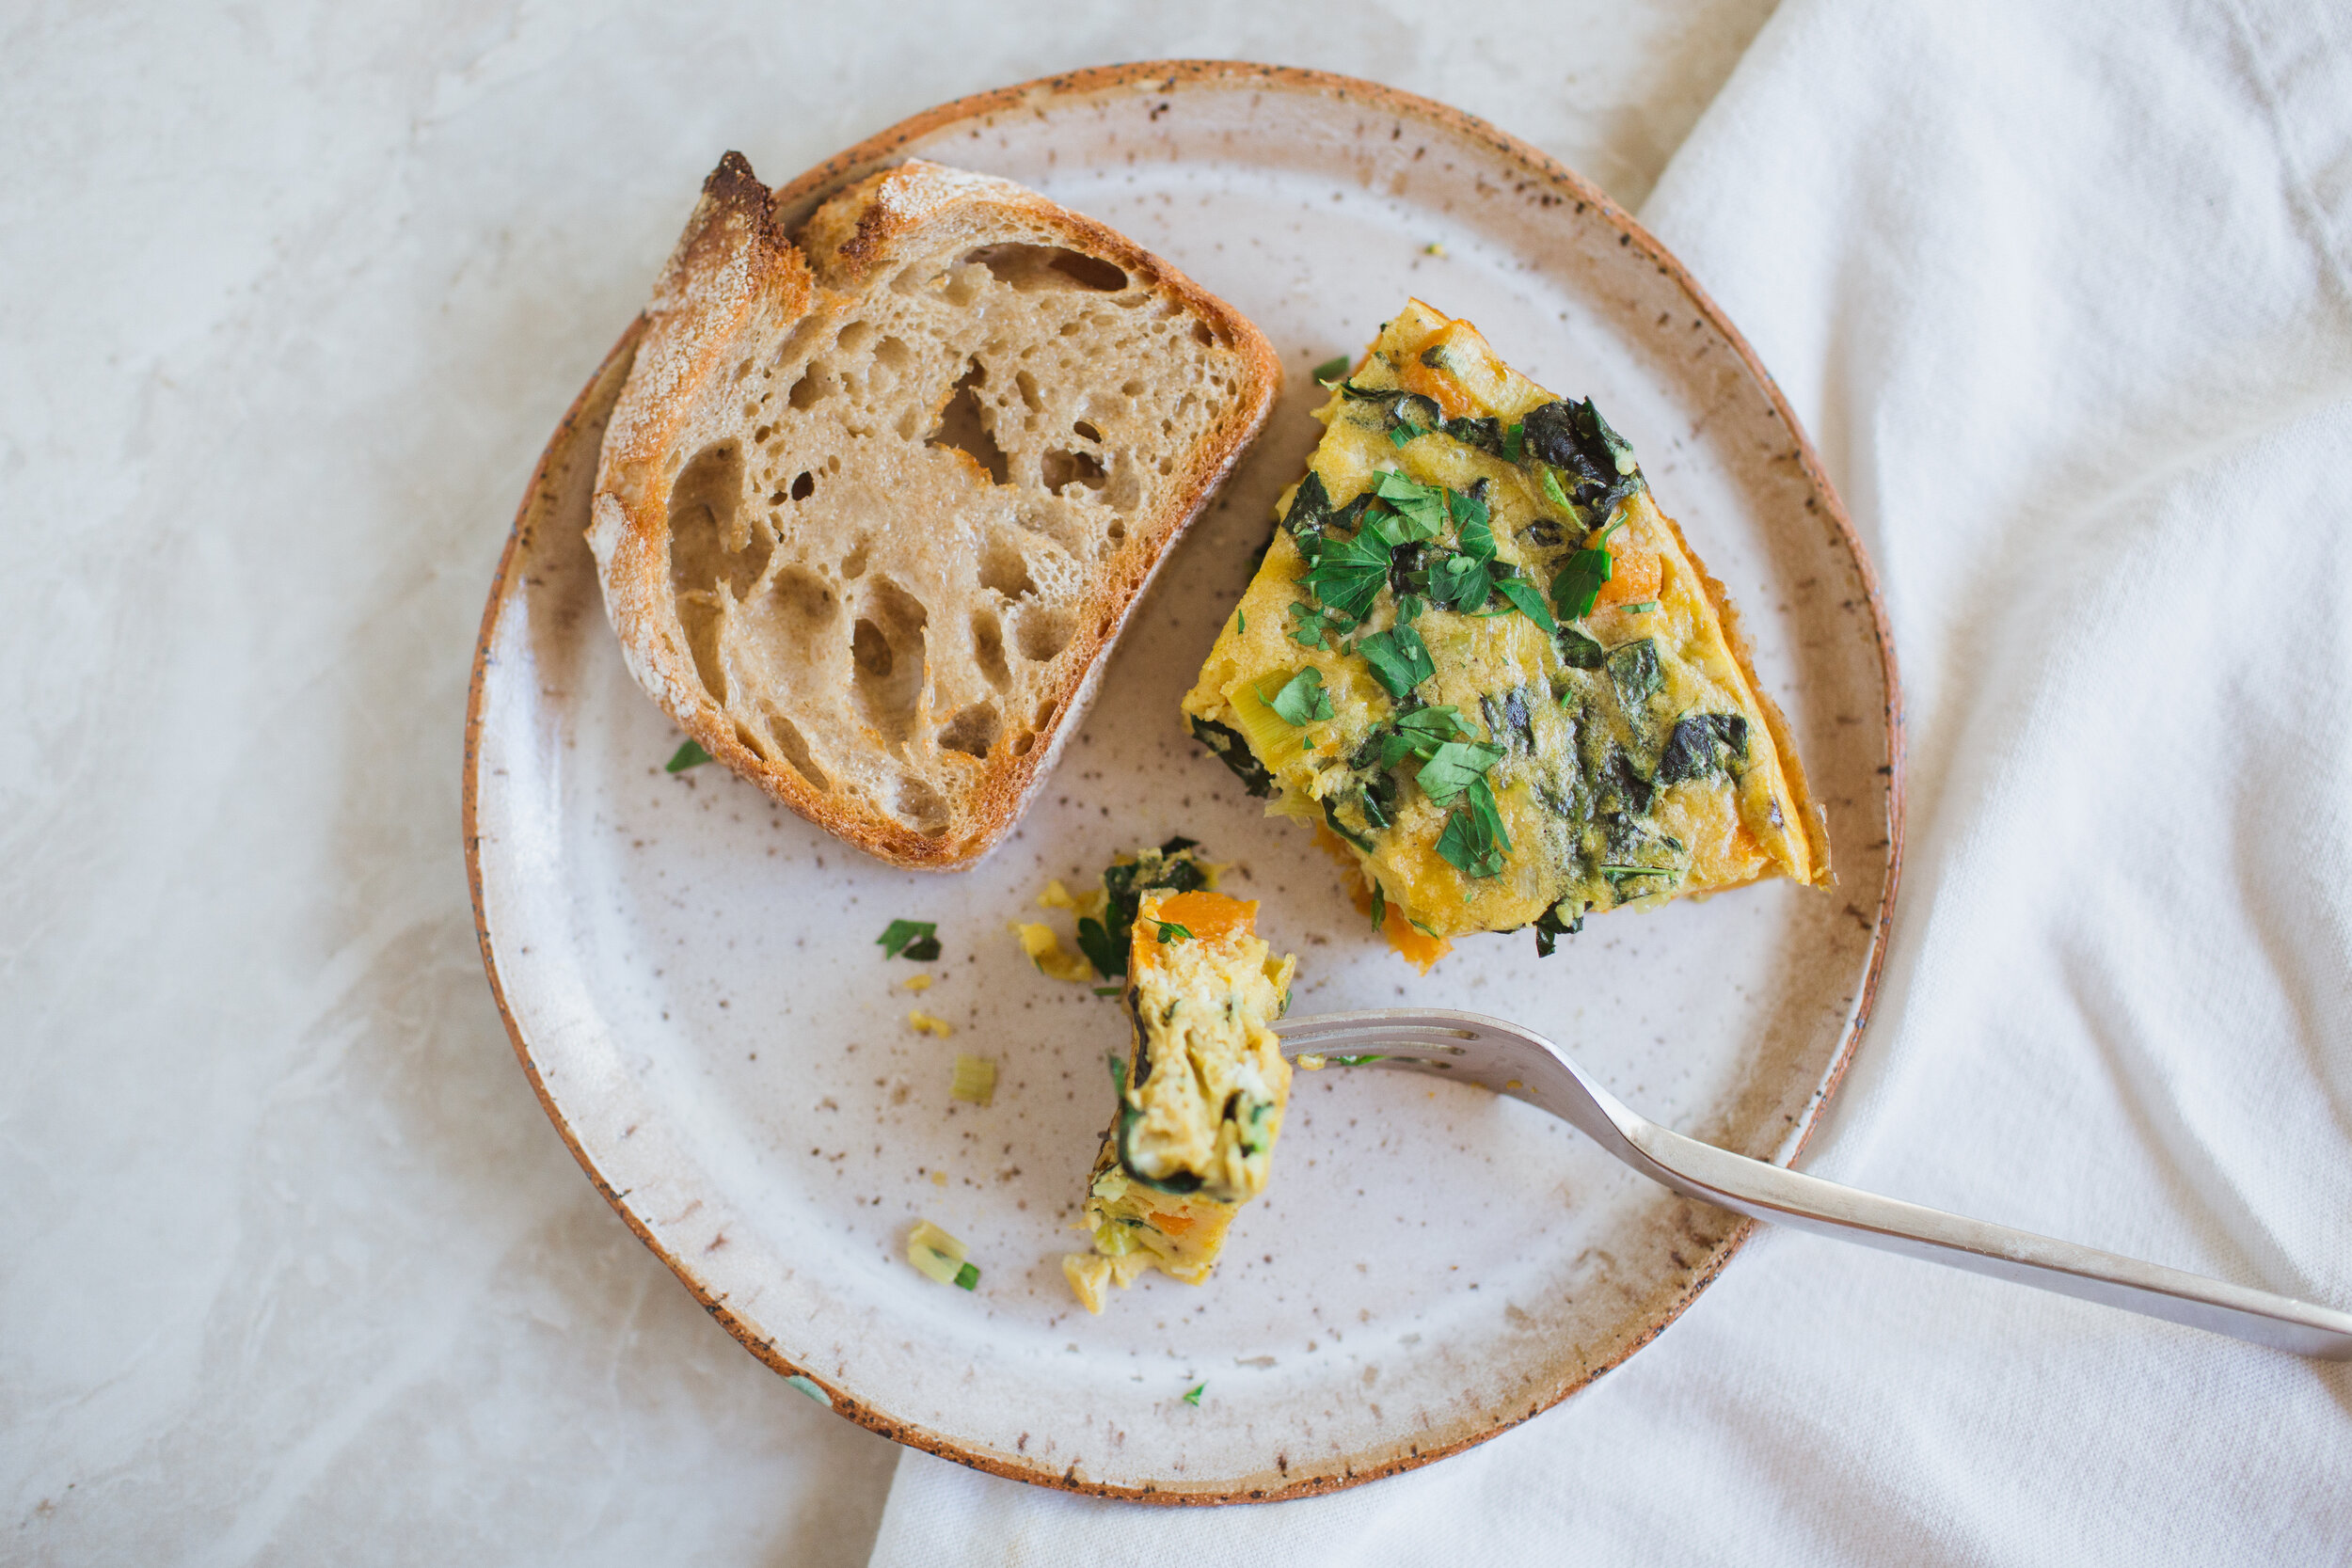
Butternut Squash, Leek, & Kale Frittata

butternut squash leek kale frittata

Butternut Squash, Leek, & Kale Frittata


Ingredients:

- 8 eggs

- 1/3 c. Full fat coconut milk

- 1 1/2 tsp. Salt

- 1 tsp. Onion powder

- 1/2 tsp. Pepper

- 1/4 c. Nutritional yeast

- 1 c. Roasted butternut squash

- 1 c. Packed chopped kale

- 1 leek, chopped

- 1 clove minced garlic

- 1 Tbs. oil/ghee

Instructions:

1. Preheat the oven to 450. Chop the butternut squash into 1/2 inch cubes, and transfer to a baking sheet. Drizzle with oil, and roast for 25 minutes.

2. In the meantime, cut off the green portion of the leek, and slice the remainder lengthwise. Chop each half into small pieces. Chop the kale into bite-size pieces.

3. Saute the leek in a cast iron pan in 1 Tbs. oil or ghee over medium heat. Once the leek is soft and begins to caramelize, add the kale and the minced garlic. Saute for another 5 minutes, or until the kale is wilted. Turn off the stove until ready to add the squash and egg mixture.

4. Mix the eggs, coconut milk, salt, onion powder, pepper, and nutritional yeast in a bowl and whisk until well combined.

5. Once the butternut squash is soft, remove from the oven and turn the oven down to 350.
6. Bring the cast iron pan to medium-low heat, and add 1 c. of the butternut squash to the leek and kale mixture. Add the egg mixture to the vegetables, and let it cook on the stove for 2-3 minutes. Transfer the cast iron pan to the oven and cook for another 20 minutes, or until the center has set*

*If you don't have a cast iron, simply combine the sauted veggie mixture and the eggs in a greased circular or square baking dish and place in the oven.

butternut squash leek kale fritatta

Buying Local Produce - Is It Really That Important?

DBFBA40F-8987-4260-80A6-5142AFFAA71F.JPG
3B66F258-DC68-4995-9C33-2875EC948D77.JPG

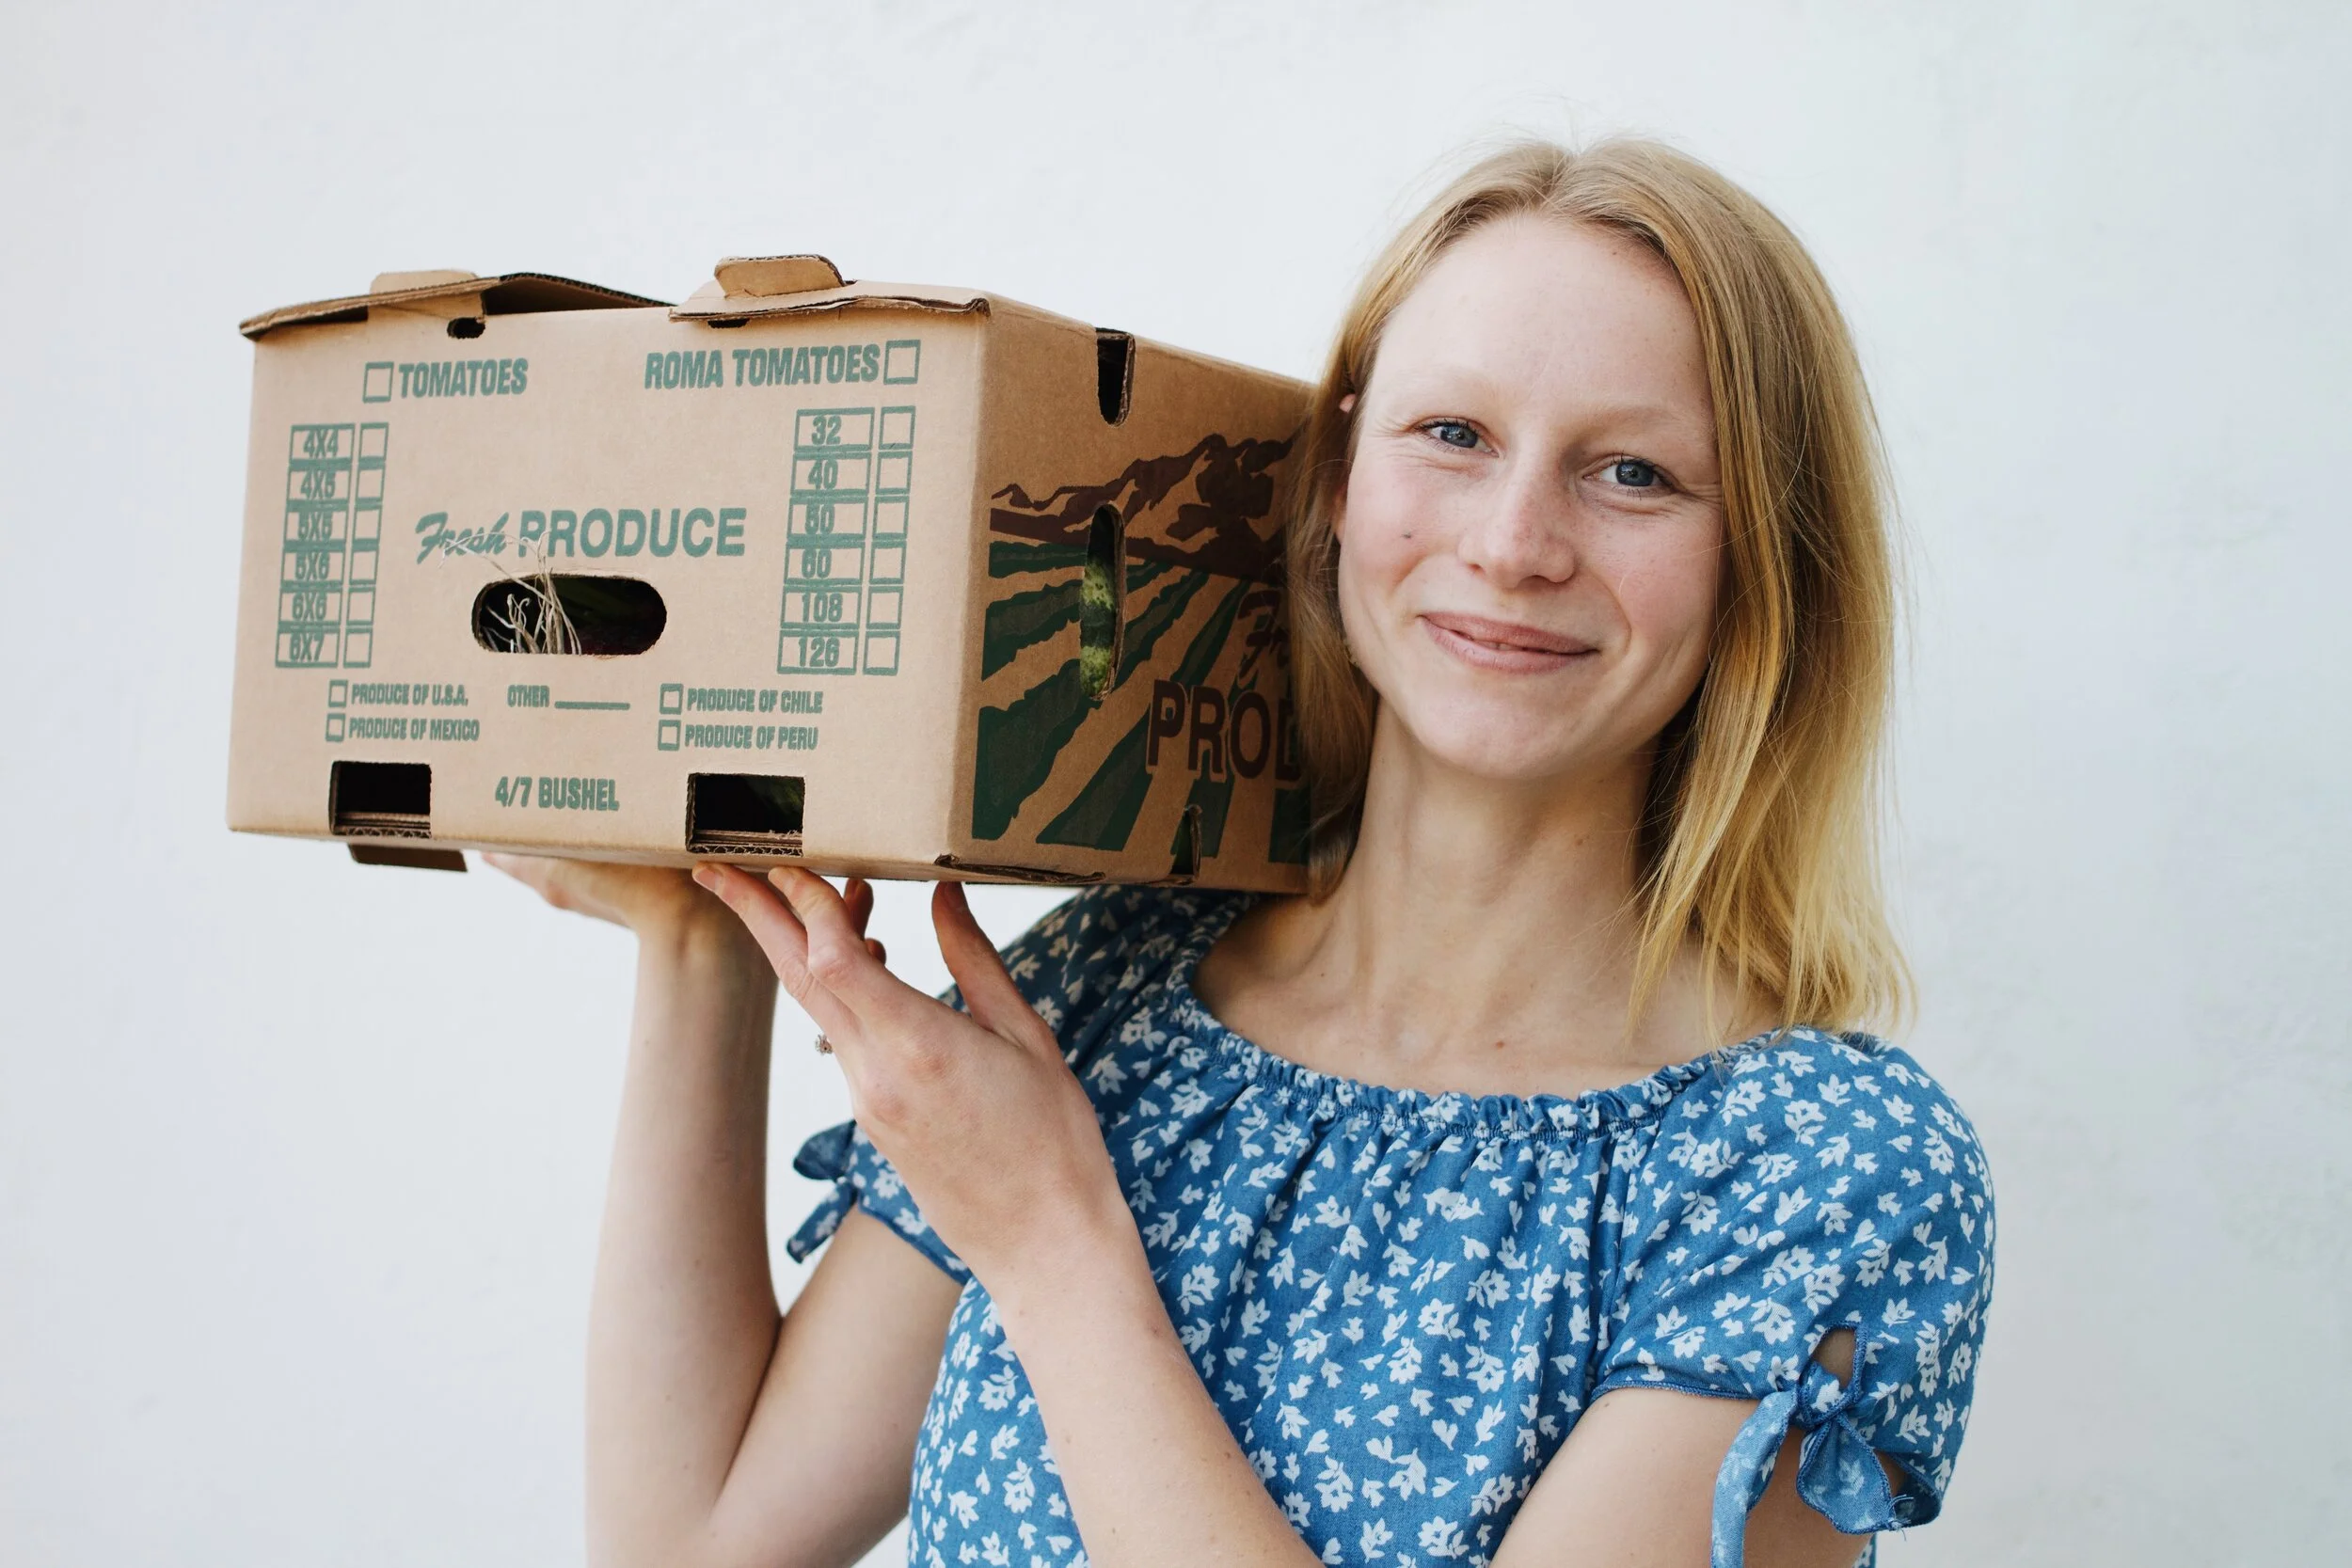
If you follow me on social media, you’ve probably seen me singing the farmer’s market praises, or going off about how much I love my weekly farm box. Honestly, I didn’t used to feel this way. A couple years ago I was shopping at TJ’s for almost all of my food, including my produce (I still love Trader Joe’s, and they provide a lot of great food and great jobs!). It was close to home, cheap, quite a few organic options, and convenient. What more could I want?

 
buy local produce
 

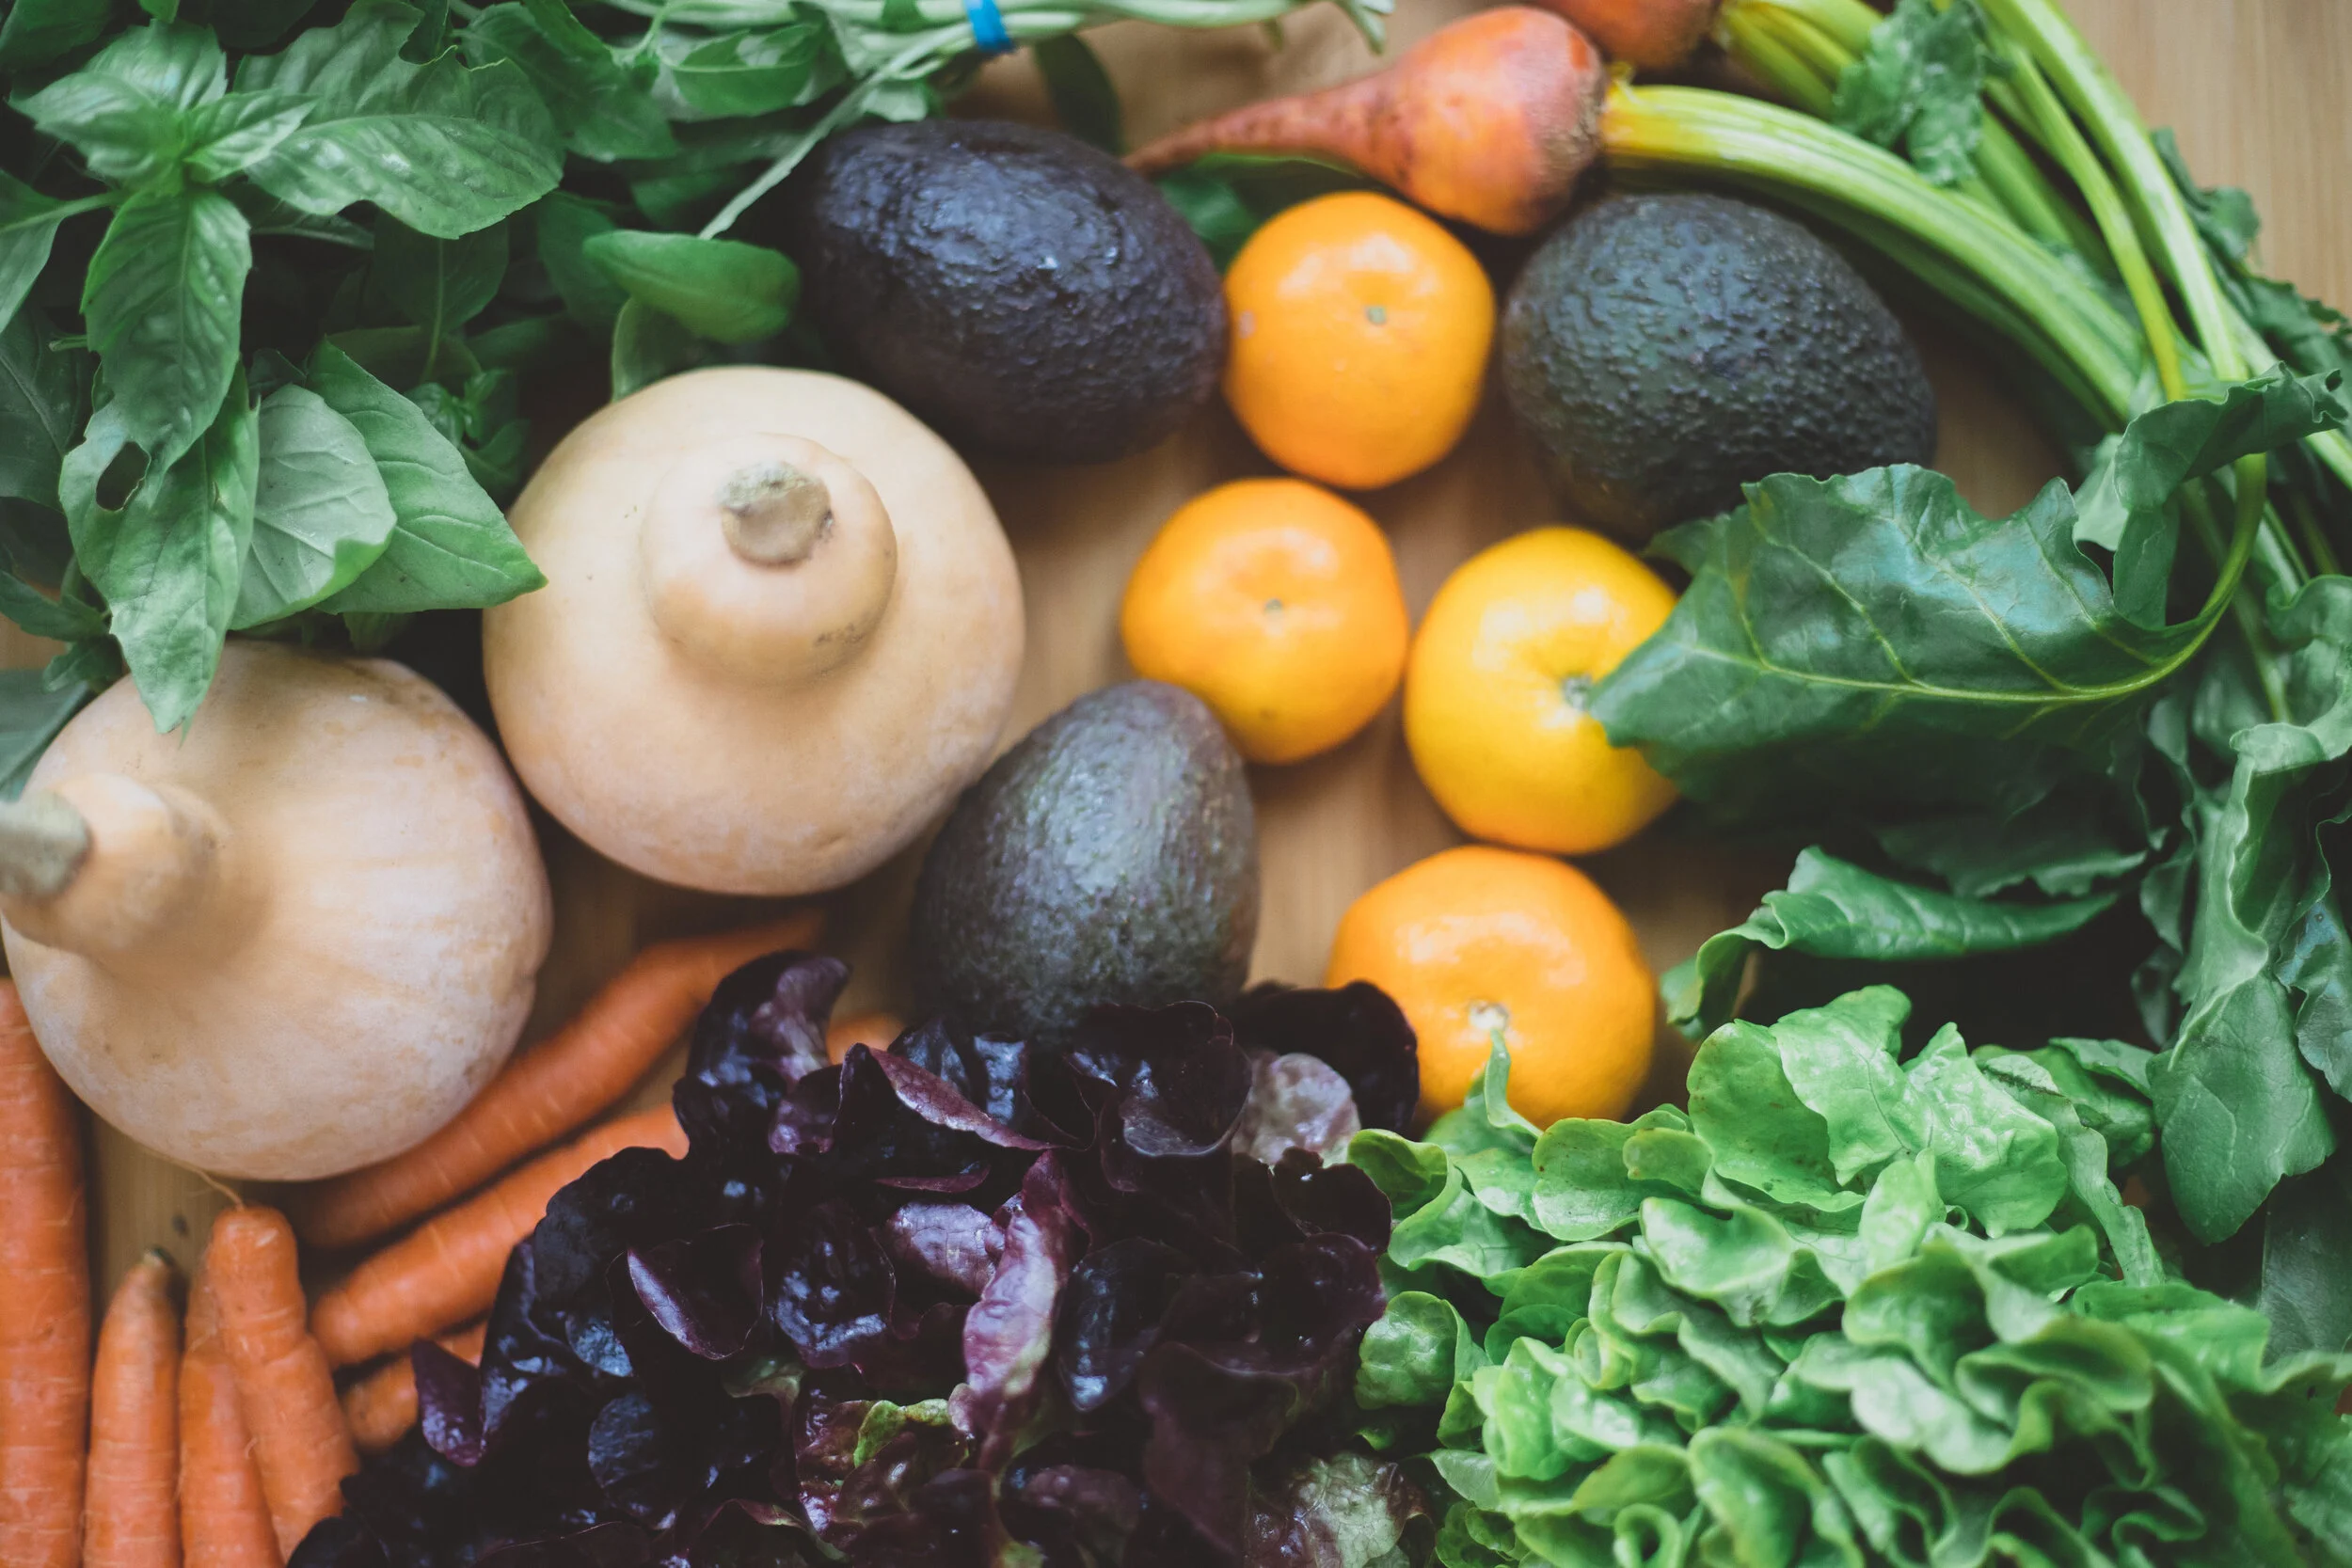
Well, let me paint a picture for you. Let’s say you pick up a few apples at a grocery store in the middle of Spring. Those apples were probably picked before they were fully ripe, have been sitting in some sort of cooler for 6 months, were taken out of the cooler a week before you saw them, traveled over 1,000 miles in a truck, and are now sitting in front of you in the grocery store. You really have no way of knowing where your apples were grown, when they were picked, how fresh they are, and how they got to be right in front of you. This applies to more than just apples.

 
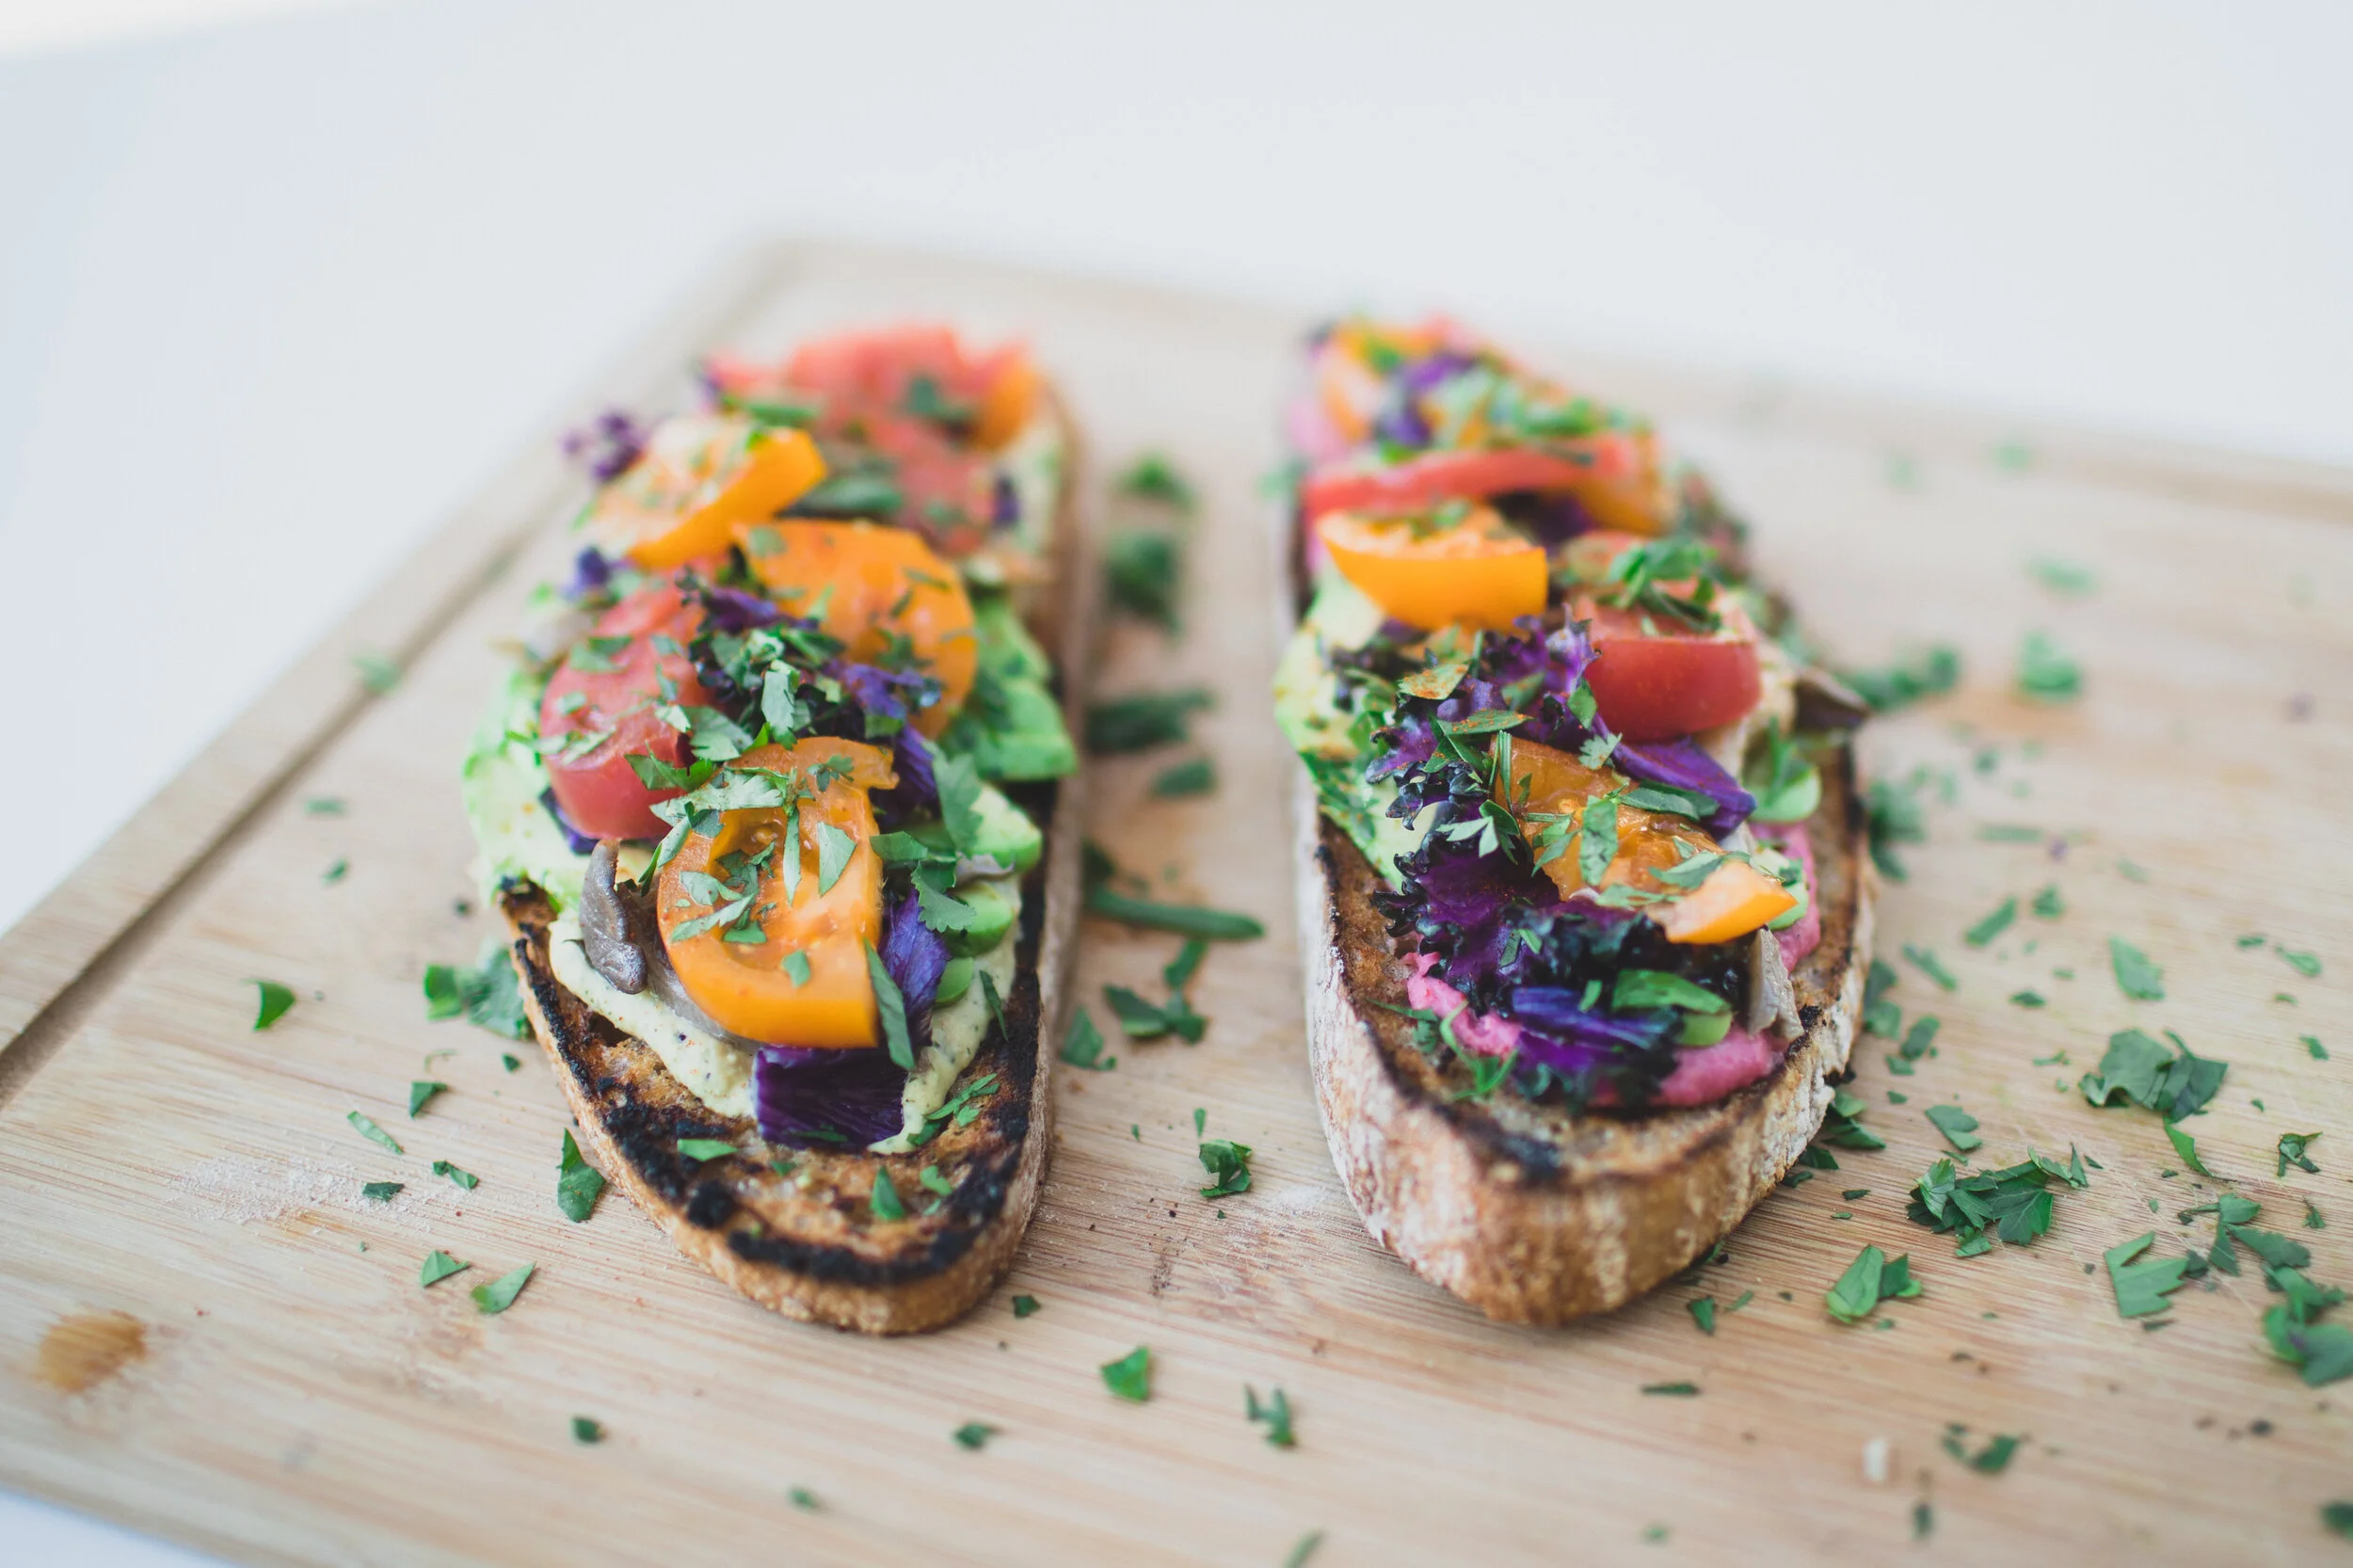
rainbow toast
 

Let me paint another picture. You’re driving home from work on Tuesday, and you stop to pick up a box on your way home. This box is full of 10 different kinds of vegetables and fruits, all grown within your area. You know which farms the produce comes from, that it’s all organic, picked when its ripe, in season, and extremely fresh. You know that you’re supporting a local farmer in your area that works tirelessly to provide their community with fresh produce. That in itself is a pretty powerful thing. 

Maybe you’re starting to understand why I’m passionate about buying from local farmers, but let me explain a few more reasons why:

  1. Local and seasonal foods generally have more complex flavors and higher nutrition content. Local produce is picked at peak ripeness, which allows the nutrients and flavor to develop more fully. Once a fruit or vegetable is picked, it slowly starts to lose nutritional value. When you buy locally, not very much time has passed between harvest and your table, meaning more of the nutrients are still in tact.

  2. When you buy locally, you are reducing the amount of energy it takes to store and transport your food. Imagine how much energy is used to power giant refrigerators and freezers and semi trucks.

  3. Buying from local, organic farms also means you aren’t consuming food with pesticides and herbicides. You are supporting your own health and the health of our planet.

  4. When you buy from local farmers and grocers, your money remains within your local economy. You are supporting the livelihood of people in your own community, and helping your community’s economy thrive.

  5. You will discover so many fruits and vegetables you never knew existed.

  6. So many people in our country don’t have access to fresh produce. If you have the resources and geographical location to do this, then hop on this train! I would encourage you to do your part to contribute to a more sustainable world and a stronger community.

farm cart organics

Supporting local farms is supporting your community, the environment, your own health, and preserves natural resources

LOCAL HARVEST is an AMAZING resource. At the top of the website you can search for farmer’s markets, co-ops, and CSA boxes in your area! A lot of areas don’t provide CSA boxes in the winter, but there’s usually a co-op or some other grocery store where you can get local produce.

Three things to look up in your area in order to find local and seasonal produce:

  • Co-ops

  • Farmer’s Markets

  • CSA boxes

Here’s a list of CSA boxes in a few areas that I know people that read my blog are from!

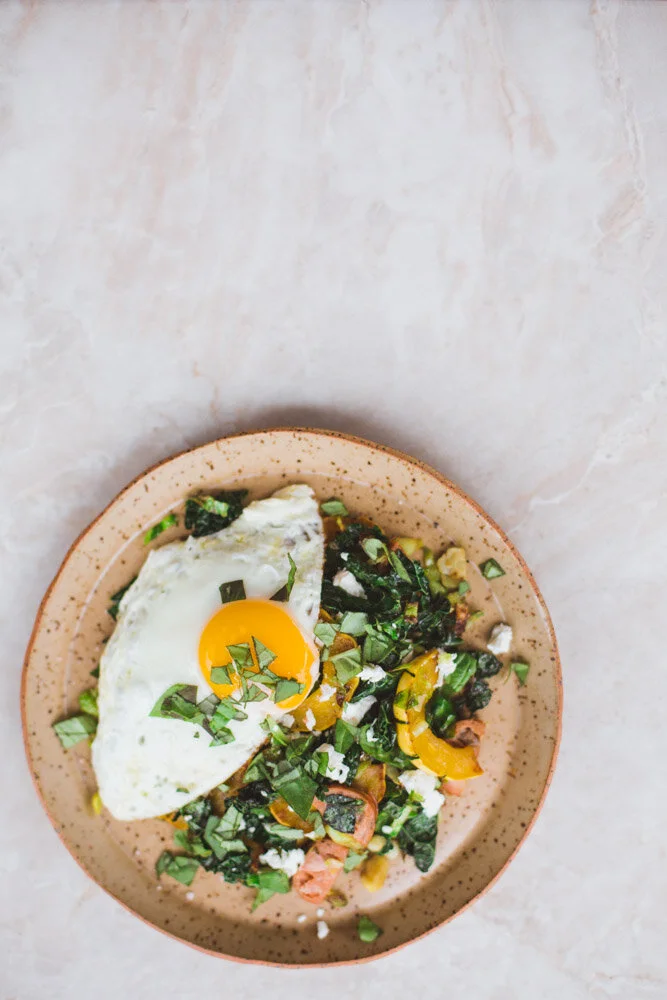
Delicata Squash & Brussel Sprout Hash

delicata squash recipes

When I was a little girl, I hated squash. I would cringe whenever my mom put that pile of yellow or orange mush on my plate. I can remember staring down at my dinner plate, empty of everything except for that dreadful squash, trying to think of a way to get out of eating it so that I could leave the table. Oh, how things have changed since then! I had no idea that there was such a beautiful food group I was missing out on.

Now, I could eat squash three meals a day and never get tired of it. I love all the different shapes, colors, and flavors that squash brings in the fall. It’s such a satisfying and heart-warming food, and the possibilities are endless. Whether it’s in a salad, a soup, a muffin, a bowl of oats, or a breakfast hash, it never ceases to compliment dishes with its texture and flavor.

Personally, I have a few favorites when it comes to squash:

  • Kabocha: Perfect for curries or yum bowls

  • Acorn: Perfect for roasting and stuffing with all sorts of yummy herbs, veggies, and protein

  • Butternut: Delicious in salads, soups, and just about anything

  • Pumpkin: Put it in pumpkin bread, pancakes, French toast, or baked goods of all kinds

  • Delicata: The easiest to prepare, and delightful in salads, hashes, bowls, and more

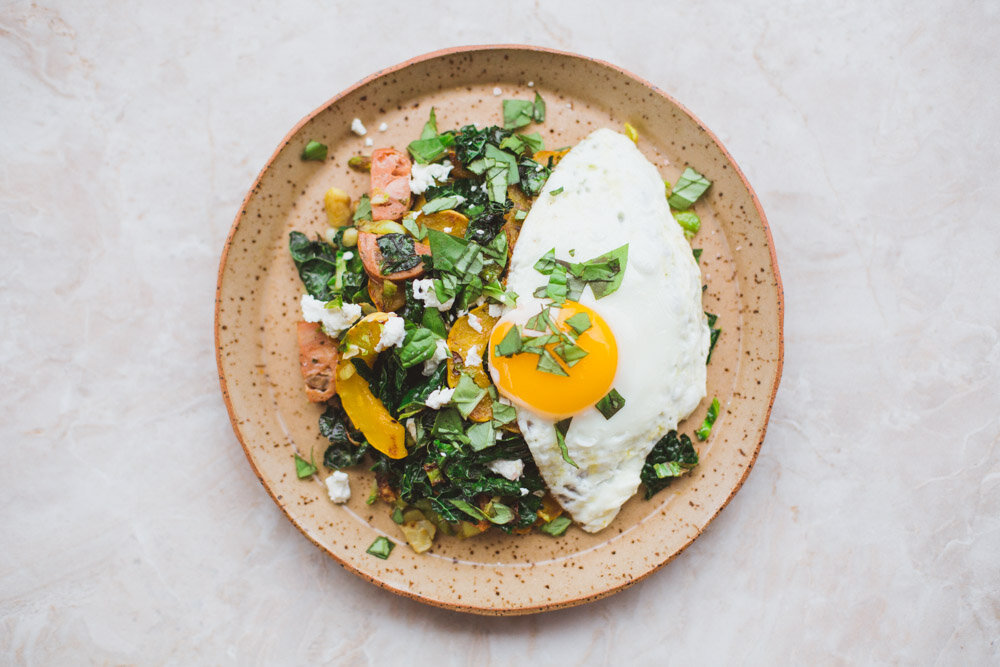
delicata squash breakfast hash

The biggest complaint I hear about squash is how hard it is to chop and prepare. Yes, slicing a massive vegetable with a tough skin can feel more like chopping wood. Don’t even get me going on how annoying it is when my massive knife gets stuck mid-squash. It’s borderline dangerous. I feel like squash is a good metaphor for life, though. Most good things come with a little work, right? Also, let’s be real… It only takes a few minutes, and if you’re really short on time count is as an arm workout :)

delicata squash hash

Thankfully, delicata squash is super easy to slice. I always keep the skin on, because its’ pretty thin, so it’s more like chopping a large potato. This hash is a great way to use delicata! It doesn’t use the entire squash, so you can save the leftover pieces in the fridge to roast or sauté later in the week.

This meal would be perfect for a weekend brunch, or even breakfast for dinner :)

Delicata Squash & Brussel Sprout Hash

Ali Beck | October 16, 2019

  • prep time: 5 min.
  • cook time: 15 min.
  • total time: 25 min.

Servings: 2

Ingredients:

  • 1 c. delicata squash, thinly sliced
  • 1 c. thinly sliced brussel sprouts
  • 2 c. chopped kale
  • 1 organic chicken sausage
  • 2 eggs
  • 1 Tbs. ghee or avocado oil
  • salt & pepper
  • chopped fresh basil
  • goat cheese

Instructions:

  1. Slice the ends off the delicata squash, then cut lengthwise. Remove the seeds, then thinly slice the squash into half-circles. Wash, remove the ends, and thinly slice the brussel sprouts. Wash and chop the kale. Slice the pre-cooked sausage.
  2. Heat 1/2 Tbs. ghee or avocado oil in a cast iron skillet over medium heat. Add 1 c. of the sliced delicata squash and cook for 5 minutes. I like to lay them out flat on the pan so that they cook evenly.
  3. after the delicata squash begins to brown and carmelize slightly, add in the brussel sprouts and a little more oil. Continue to cook for 5 minutes, stirring every couple minutes. Once the brussel sprouts start to grow limp and soft, add the kale and the sausage. Cover the mixture with a lid for a couple minutes so that the kale begins to wilt.
  4. Once the vegetables are soft and the kale is wilted, divide the mixture between two plates.
  5. Use the same pan to fry two eggs. Top the hash with a fried egg, goat cheese, chopped basil, salt, and pepper.

Print Friendly and PDF

delicatabrusselkalehash.jpg

Please comment below with any thoughts or questions about this recipe :)

Grilled Salmon + Cassava Tostadas + Tomatillo Salsa

 
salmontacos-1-3.jpg
 

To be honest, I don’t follow recipes that often. Usually I get too excited about some new meal idea I have, or I’m making something for my blog, or I just don’t have time and throw together whatever I can at the end of the day (I think most of us fall into that last category). This time, however, was a little different. I saw Jodi’s (from What’s Cooking Good Looking) cassava flour tortillas topped with salmon and tomatillo salsa on instagram, and I was like, “Whoa. I need to make that.” They looked fun, light, flavorful, and super packed with nutrition. So, I saved the recipe, and next time I went to the store I made a list of all the ingredients I would need.

salmontacos-5.jpg

Fast forward a couple of days and I was cooking away in my little studio kitchen! I tried to document the process as I went, which makes recipes take about 3x as long, but I had fun the whole time :) I made a couple tweaks to Jodi’s recipe, and it all tasted UNREAL. Sid and I were totally blown away by how good the little tacos were, especially the cassava flour tortillas.

What is cassava, by the way? Cassava, also known as yucca root, is a root vegetable native to South America. It’s one of the main sources of carbohydrates for people in the tropics. Cassava can be ground into flour to be used for baking, and I believe it is one of the BEST flour alternatives. It’s rich in antioxidants (it contains a lot of vitamin C), it supports the immune system, it promotes skin and hair health, it’s easy to digest, it has a low glycemic index, and it may even relieve arthritis symptoms. It also contains a whole lot of vitamins and minerals, and it’s allergen-free :) Have I convinced you to buy some cassava flour yet?

Cassava flour is a little expensive, but it is way cheaper than buying already made cassava flour tortillas. I find a pretty good deal on it HERE.

Now go forth and make these wonderful little summer tacos! You won’t regret it :)

salmontacos-1-4.jpg
salmontacos-3-2.jpg
salmontacos-1.jpg
 
salmontacos-4.jpg
 

Grilled Salmon + Cassava Tostadas + Tomatillo Salsa

Servings: 10-12 tostadas

Ingredients

For the Salsa:

  • 6-8 tomatillos, husks removed and diced
  • 1 green pepper, diced
  • 1 jalapeño, (seeded if you don’t like it too spicy), diced
  • 1 red onion (about 1/2 cup when diced)
  • 2 cloves of garlic, minced
  • a drizzle of avocado oil (neutral oil)
  • a pinch of cumin
  • salt + pepper
  • a 1/2 lime, squeezed

For the Salmon:

  • 1 lb of wild salmon
  • salt + pepper
  • 2 cloves garlic
  • 1/2 tsp. each cumin & paprika
  • a drizzle of olive oil and a squeeze of lemon

For the Cassava Tostadas:

  • 1 cup cassava flour
  • 1/2 tsp. salt
  • 3 Tbs. olive oil
  • 3/4 c. water

Instructions

  • Make the salsa: Pre-heat the oven to 400F. Place the tomatillos, green pepper, jalapeño, red onion and garlic onto a sheet pan, drizzle with the oil, season with the salt, pepper and cumin. Roast for 15-20 minutes, until all of the veggies are soft, but not yet brown. Remove, transfer to a bowl, add a squeeze of lime, and set aside until you’re ready to serve. This can be made days in advance and stored in an airtight container in the fridge.
  • Roast the salmon: Lower the oven temp to 300F. Place the salmon skin side down onto a baking sheet, season with salt, pepper, and the additional seasoning (if you like). Drizzle with olive oil and squeeze some lemon juice over the top. Cook for 15-25 minutes, depending on how cooked you want your salmon. I prefer 15-18 minutes for medium rare, but if you like it more cooked then leave it in for longer. Remove and gently flake off pieces using a fork.
  • While the salmon is roasting, make the cassava tostadas: Place the flour and salt into a medium bowl and stir. Then add the olive oil, and add the warm water a tablespoon at a time until the mixture comes together into a dough that is sticky but not too wet. The amount of water may vary, but should be right around 1/2 cup. When the dough has formed, knead it 10 or so times, and then form the tostada rounds. Pinch off a golf ball sized amount, roll it between you palms, and press it to flatted it. Transfer to a parchment lined plate, and do this until all of the dough has been formed. Heat some ghee or oil in large cast iron over medium heat. Place a couple of the dough rounds into the pan, don't overcrowd, and cook for about 3 minutes on each side, until they are golden. Transfer to a plate, and get ready to top and serve.
  • To add the toppings, I like to start with the yogurt then add a few pieces of the flaked salmon, then some avocado and radish and finish with the salsa and chives. Enjoy!

Print Friendly and PDF

F A T

WE LOVE FAT

WE NEED FAT

But choose your FAT wisely!

alternative-906138_1280.jpg

I’m sure a lot of you remember the days when eating a low fat diet was supposed to be good for you. A few poorly done, mis-interpreted studies and the media, food industry, and health care professionals started shouting from the rooftops that a low-fat diet full of vegetable oils was “healthy”. Well, fat makes food taste GOOD. So what do you do to make low-fat food taste better? You add sugar! Yep, sugar started making it’s way into everything, and people started substituting healthy, fatty foods with less satisfying, non-nutritious foods. The result was weight gain, sugar addiction, and a host of other health and economic issues that I don’t need to get into here.

Fast forward 50+ years and we’re finally starting to get back on track. Butter? ghee? coconut oil? SATURATED FAT? Yes, eat them! We’re finding they’re actually very necessary and beneficial to our bodies, especially for women! You want to know something cool? Eating fat doesn’t even make you fat! Eating the RIGHT kind of fat can actually promote a healthy weight along with BEING BUILDING BLOCKS FOR CELL MEMBRANES AND HORMONES. Not only that, but it’s one of the most satiating types of fuel, meaning fat can make you stay full for a long time.

So let’s get down to business. What is fat, and where do I get it? Just like there’s a bunch of different types of dogs and trees in the world, there’s also a bunch (although not nearly as many) of different types of fat. I’ll spare you from the scientific details and just give you practical descriptions.

Types of fat:

  • Saturated: Solid at room temperature and does not go rancid easily. Many types of saturated fat make great cooking fat! It’s found mostly in animal fat (meats, butter, ghee, lard) and tropical oils (coconut oil, palm oil). Saturated fats are the main structural fats in the body.

  • Monounsaturated: Liquid at room temperature and more susceptible to going rancid than saturated fats, although some mono-unsaturated fats are great for cooking as well. Monounsaturated fats are found in olives, avocados, some meats, and certain nuts. Your body can convert saturated fat into monounsaturated fat.

  • Polyunsaturated: Your body cannot make these on its own, meaning they must be consumed in your diet. This type of fat is also liquid at room temperature and goes rancid very easily. Polyunsaturated fat is divided into two categories:

    1. Omega-6 fatty acids: found in industrially processed and refined oils like corn, soybean, sunflower, safflower, and cottonseed oils. It’s also found in some nuts and animal foods. This is a pro-inflammatory fat.

    2. Omega-3 fatty acids: found in fish, shellfish, chia seeds, flax seeds, and walnuts. This is an anti-inflammatory fat.

    It’s extremely important to have a balance of omega-6 and omega-3 fatty acids in your diet, but most people in America are deficient in omega-3 fatty acids. Taking a cod liver oil supplement, which is rich in omega-3’s, can benefit almost anyone!

WATCH OUT! When I say a fat goes “rancid” easily, what does that mean? When oils are exposed to heat, light, or oxygen they can lose their nutritional value and instead become toxic and inflammatory in your body. Many oils go rancid, or become oxidized, simply when you expose them to heat through cooking. Choosing the proper storing methods and cooking oils is very important for your health.

taco night-7.jpg

So what does this mean for YOU?!

IN YOUR BODY: Fat is playing a lot of roles.

  • maintain cell membranes

  • transport cholesterol

  • maintain brain health and mental health

  • promote healthy skin and hair

  • impact hormones and fertility

  • communication between cells

  • absorption of fat-soluble vitamins

  • provide and store energy

  • improve heart health

IN YOUR DIET: Make sure you are eating fat from the right sources.

  • Grass-fed beef (not corn-fed) and other organic, pasture-raised meats

  • organic or pasture-raised eggs

  • Wild caught fish

  • Nuts and seeds

  • Avocados

IN YOUR SHOPPING CART: Choose wisely.

  • AVOID canola oil, partially hydrogenated oil, hydrogenated oil, soybean oil, corn oil, rapeseed oil, cottonseed oil, safflower oil, sunflower oil

  • BUY avocado oil, olive oil, coconut oil, grass-fed butter, grass-fed ghee. Buy unrefined or extra-virgin oils.

IN YOUR KITCHEN: Take care.

  • Olive oil: store in a cool, dark place. Use for very low-heat sautéing, salad dressings, and drizzling over food right before eating.

  • Avocado oil: store in a cool, dark place. Use for sautéing and roasting food in the oven at lower temperatures.

  • Coconut oil: store at room temperature. Great for roasting, sautéing, and high heat cooking.

  • Butter: store in the fridge. Use for low-heat sautéing or melting over warm foods.

  • Ghee: store in a cool, dark place. Great for roasting, sautéing, and high heat cooking.

SUPPLEMENTS:

  • Consider taking a cod liver oil supplement to make sure you are getting the appropriate amount of omega-3 fatty acids in your diet! My favorite brand is the liquid cod liver oil from Nordic Naturals.

Chicken Burgers

chickenburgers-13.jpg

Sid and I are coming up on our two year anniversary next week! We’ve been married for almost two years, but we’ve only been in our own place together for about 7 months. We’ve lived with other people, lived in a van, and now we are finally settled in our own little apartment. I wouldn’t trade the experiences we had in our first 1.5 years of marriage, but I must say it is SO nice being able to create a little home and invite people in :) We actually feel like a married couple now! We’re finding our rhythm and having a ton of fun living together. I mean, we finally even created a legit budget so that we can start saving for some bigger dreams. Better late than never, right?

Part of our budget is minimizing the amount of money we spend eating out (obviously), so I’ve been batch cooking lunches for Sid so that he doesn’t have to buy lunch during his work day. Some of the meals I like to make are curry, a pasta dish of some sort, soup, wraps, and chicken salad. I decided to try something new last week and made chicken burgers!

They are juicy, tender, and oh so versatile :)

chickenburgers-2.jpg
chickenburgers.jpg

We grilled them on the back deck and they smelled AMAZING. The sun was setting, birds chirping, smoke coming off the grill, and it felt like one of the first true glimpses of summer.

We ate the chicken burgers, well, in burger form. Sid had his on fresh homemade sourdough, and I chose to eat mine on a butter lettuce wrap. You could also use them on salads or in a bowl with rice, roasted veggies, and sauce. The flavor of the burgers isn’t super strong, so you could easily add something like bbq sauce or chipotle sauce to make them even more flavorful. Just keep them in the fridge during the week, or store them in the freezer!

chickenburgers-6.jpg
 
chickenburgers-11.jpg
 

Chicken Burgers

Ali Beck | June 12, 2019

  • prep time: 10 min.
  • cook time: 10 min.
  • total time: 20 min.

Servings: 4

Ingredients:

  • 1 lb. organic ground chicken (or turkey)
  • 1 clove minced garlic
  • 1 tsp. garlic powder
  • 1 tsp. cumin
  • 1 tsp. paprika
  • 1 tsp. onion powder
  • 1/2 small onion, finely chopped
  • 2-3 mushrooms, finely chopped
  • 1/4 c. fresh herbs, chopped (I like basil & parsley)
  • 1/2 tsp. salt & pepper

Instructions:

  1. Wash and very finely chop the onion, mushrooms, and fresh herbs.
  2. Combine the ground chicken, chopped vegetables and herbs, and spices in a mixing bowl. Mix with a large wooden spoon or your hands until well combined.
  3. Divide the mixture into four separate patties and flatten each patty to be 1/4-1/2 inch thick.
  4. Barbecue on the grill for 5-7 minutes each side, or cook in a cast iron skillet on the stove for 10-12 minutes each side.

Print Friendly and PDF

Healthy Gut, Healthy Mind

You know how you get butterflies when you’re public speaking; when you’re scared you might get a sinking feeling in your stomach; or maybe when you’re stressed out, your stomach feels upset? Let’s be real, I’m sure a lot of us have experienced our bowel movements getting a little out of wack when we are nervous about something.

What a lot of people don’t realize is that the connection between your brain and your gut goes much deeper than some butterflies every once in a while. Recent research shows that there is a very significant connection between the gut microbiome and the brain. This connection is termed the gut-brain axis.

springquinoasalad.jpg

What is the gut microbiome? Each person has a unique make-up of bacteria living in their intestinal tract. The gut microbiome (or flora) plays an integral role in digestive health and also influences the immune system. This collection of bacteria is developed in infancy, but there’s a lot of factors that can influence it later on as well. Some examples are:


  • Whether someone was born vaginally or not

  • Whether someone was breastfed or not

  • Diet

  • Stress

  • Antibiotic use

  • Physical environment


Any one of these things can disrupt the balance of bacteria in the gut. Did you know that 80% of the immune system is found in the gut? A healthy gut is so important in protecting against a variety of issues, such as IBS, obesity, mood disorders, food sensitivies, and auto-immune diseases. When there’s a disruption in the gut microbiome, it can lead to a chronic state of inflammation, influencing a person’s physical and emotional health in a variety of ways. One way we see this happening is things like anxiety and depression.

There is a nerve that runs between the gut and the brain called the vagus nerve. The gut sends signals to your brain and vice versa. Feelings of stress, sadness, or depression can send negative signals to the gut, which can disrupt the gut microbiome. An imbalance in bacteria can send negative signals back to the brain, creating a negative cycle.

Many current studies have shown that there is a relationship between the bacteria present in the gut and disorders such as depression, anxiety, autism, auto-immune diseases, and more. There’s a lot more research to be done, but it’s exciting to think about how much more we are understanding about the relationship between gut health and a variety of mental health issues.

Thankfully, the gut microbiome can be healed and restored. There are holistic practices to utilize that may help relieve stress/anxiety as well as heal the gut. These are simple suggestions, and keep in mind that sometimes working with a professional or team of professionals is necessary. 


1. Meditation/Prayer

Setting aside 20 minutes of time in the morning to pray, meditate, and or even do yoga can have profound impacts on mental health and on the body healing itself. Allowing yourself  to slow down, breathe, and relax allows your body to release stress and focus on healing.

2. Anti-inflammatory foods

Eating a variety of anti-inflammatory foods is helpful for reducing inflammation in the body. Some examples of anti-inflammatory foods are:

  • Ginger

  • Turmeric

  • Fatty fish (salmon, tuna, sardines)

  • Chia seeds

  • Walnuts

  • Leafy greens (kale, spinach, lettuce, swiss chard)

  • Beets

  • Broccoli

  • Blueberries

  • Flax seeds

  • Bone broth

It’s also helpful to stay away from inflammatory foods such as refined carbohydrates, sugar, alcohol, vegetable oils (especially hydrogenated, partially hydrogenated & canola oil), processed meats (lunch meats), and red meat (unless it’s grass-fed).

3. Probiotics

It’s important to restore good bacteria in the gut through eating probiotic foods. Some people may need more help from a probiotic supplement. Probiotic foods include:

  • Sauerkraut

  • Kimchi

  • Kombucha

  • Kefir

  • Yogurt 

  • Miso & tempeh (fermented soy products)


I hope this was informative and helpful for you! Now go buy some sauerkraut :)

Spring Salad w/ Creamy Dill Dressing

springsalad.jpg

Salad:

  • 1 bag Spring mix, or one head of fresh lettuce

  • 1 handful sugar snap peas, cut in half

  • 1/2 c. chopped Spring herbs (mint, basil, chives, parsley)

  • 1/2 apple, chopped

  • 1 avocado, diced

  • 1 c. roasted chicken

Dressing:

  • 1/4 c. mayo (vegan or regular)

  • 1/4 c. organic plain greek yogurt

  • 2 Tbs. lemon juice

  • 1 tsp. dijon

  • 2 Tbs. chopped fresh dill

  • 1/2 tsp. garlic powder

  • salt and pepper to taste

 
sourdoughclass-3.jpg
 

Butternut Squash Veggie Burgers

 
BUTTERNUTSQUASHBURGER.jpg
 

Ingredients:

  • 1.5 c. roasted butternut squash, roasted

  • 1 c. cooked quinoa (or brown rice)

  • 1 c. black beans, mashed

  • 1/2 c. bread crumbs (or rolled oats)

  • 1 large egg

  • 1 small onion, very finely chopped

  • 3 cloves garlic

  • 1.5 Tbs. cumin

  • 1 Tbs. coriander

  • 1/2 tsp. salt

  • 1/4 tsp. pepper

Instructions:

  1. Preheat the oven to 425. Cut a butternut squash in half, remove the seeds, rub with olive oil, and roast both sides face-down for 35-45 minutes, or until tender. While the squash is roasting, cook the quinoa (brown rice can also be used).

  2. Once cool, add the butternut squash and quinoa to a mixing bowl, along with all the other ingredients. Stir until well combined. The mixture will be wet and sticky.

  3. Heat a large cast iron skillet over medium-low heat. Shape the mixture into patties and cook about 7 minutes on each side.

5 Minute Blender Pancakes

Quick, Healthy, Budget-Friendly-16.jpg

5 Minute Blender Pancakes (gf)

Serves: 2

Time: 5 minutes

Ingredients:

  • 2 eggs

  • 1 c. oats

  • 1/2 c. almond milk

  • 1 banana

  • 1 tsp. baking powder

  • 1/4 tsp. salt

  • 1 tsp. cinnamon

Instructions:

  1. Combine all of the ingredients in a blender. Blend until the mixture is smooth. Preheat a cast iron skillet with some coconut oil over medium-low heat. Pour pools of batter into the pan, and flip when bubbles appear on the top of each pancake.

  2. Enjoy with nut butter, greek yogurt, jam, berries, or maple syrup! You can’t go wrong with the toppings :)

Chickpea "Tuna"

chickpea tuna

Chickpea “Tuna”

Serves: 2

Time: 5 min.

Ingredients:

  • 1 can of chickpeas

  • 1 Tbs. mayo

  • 1 tsp. lemon juice

  • salt & pepper to taste

Instructions:

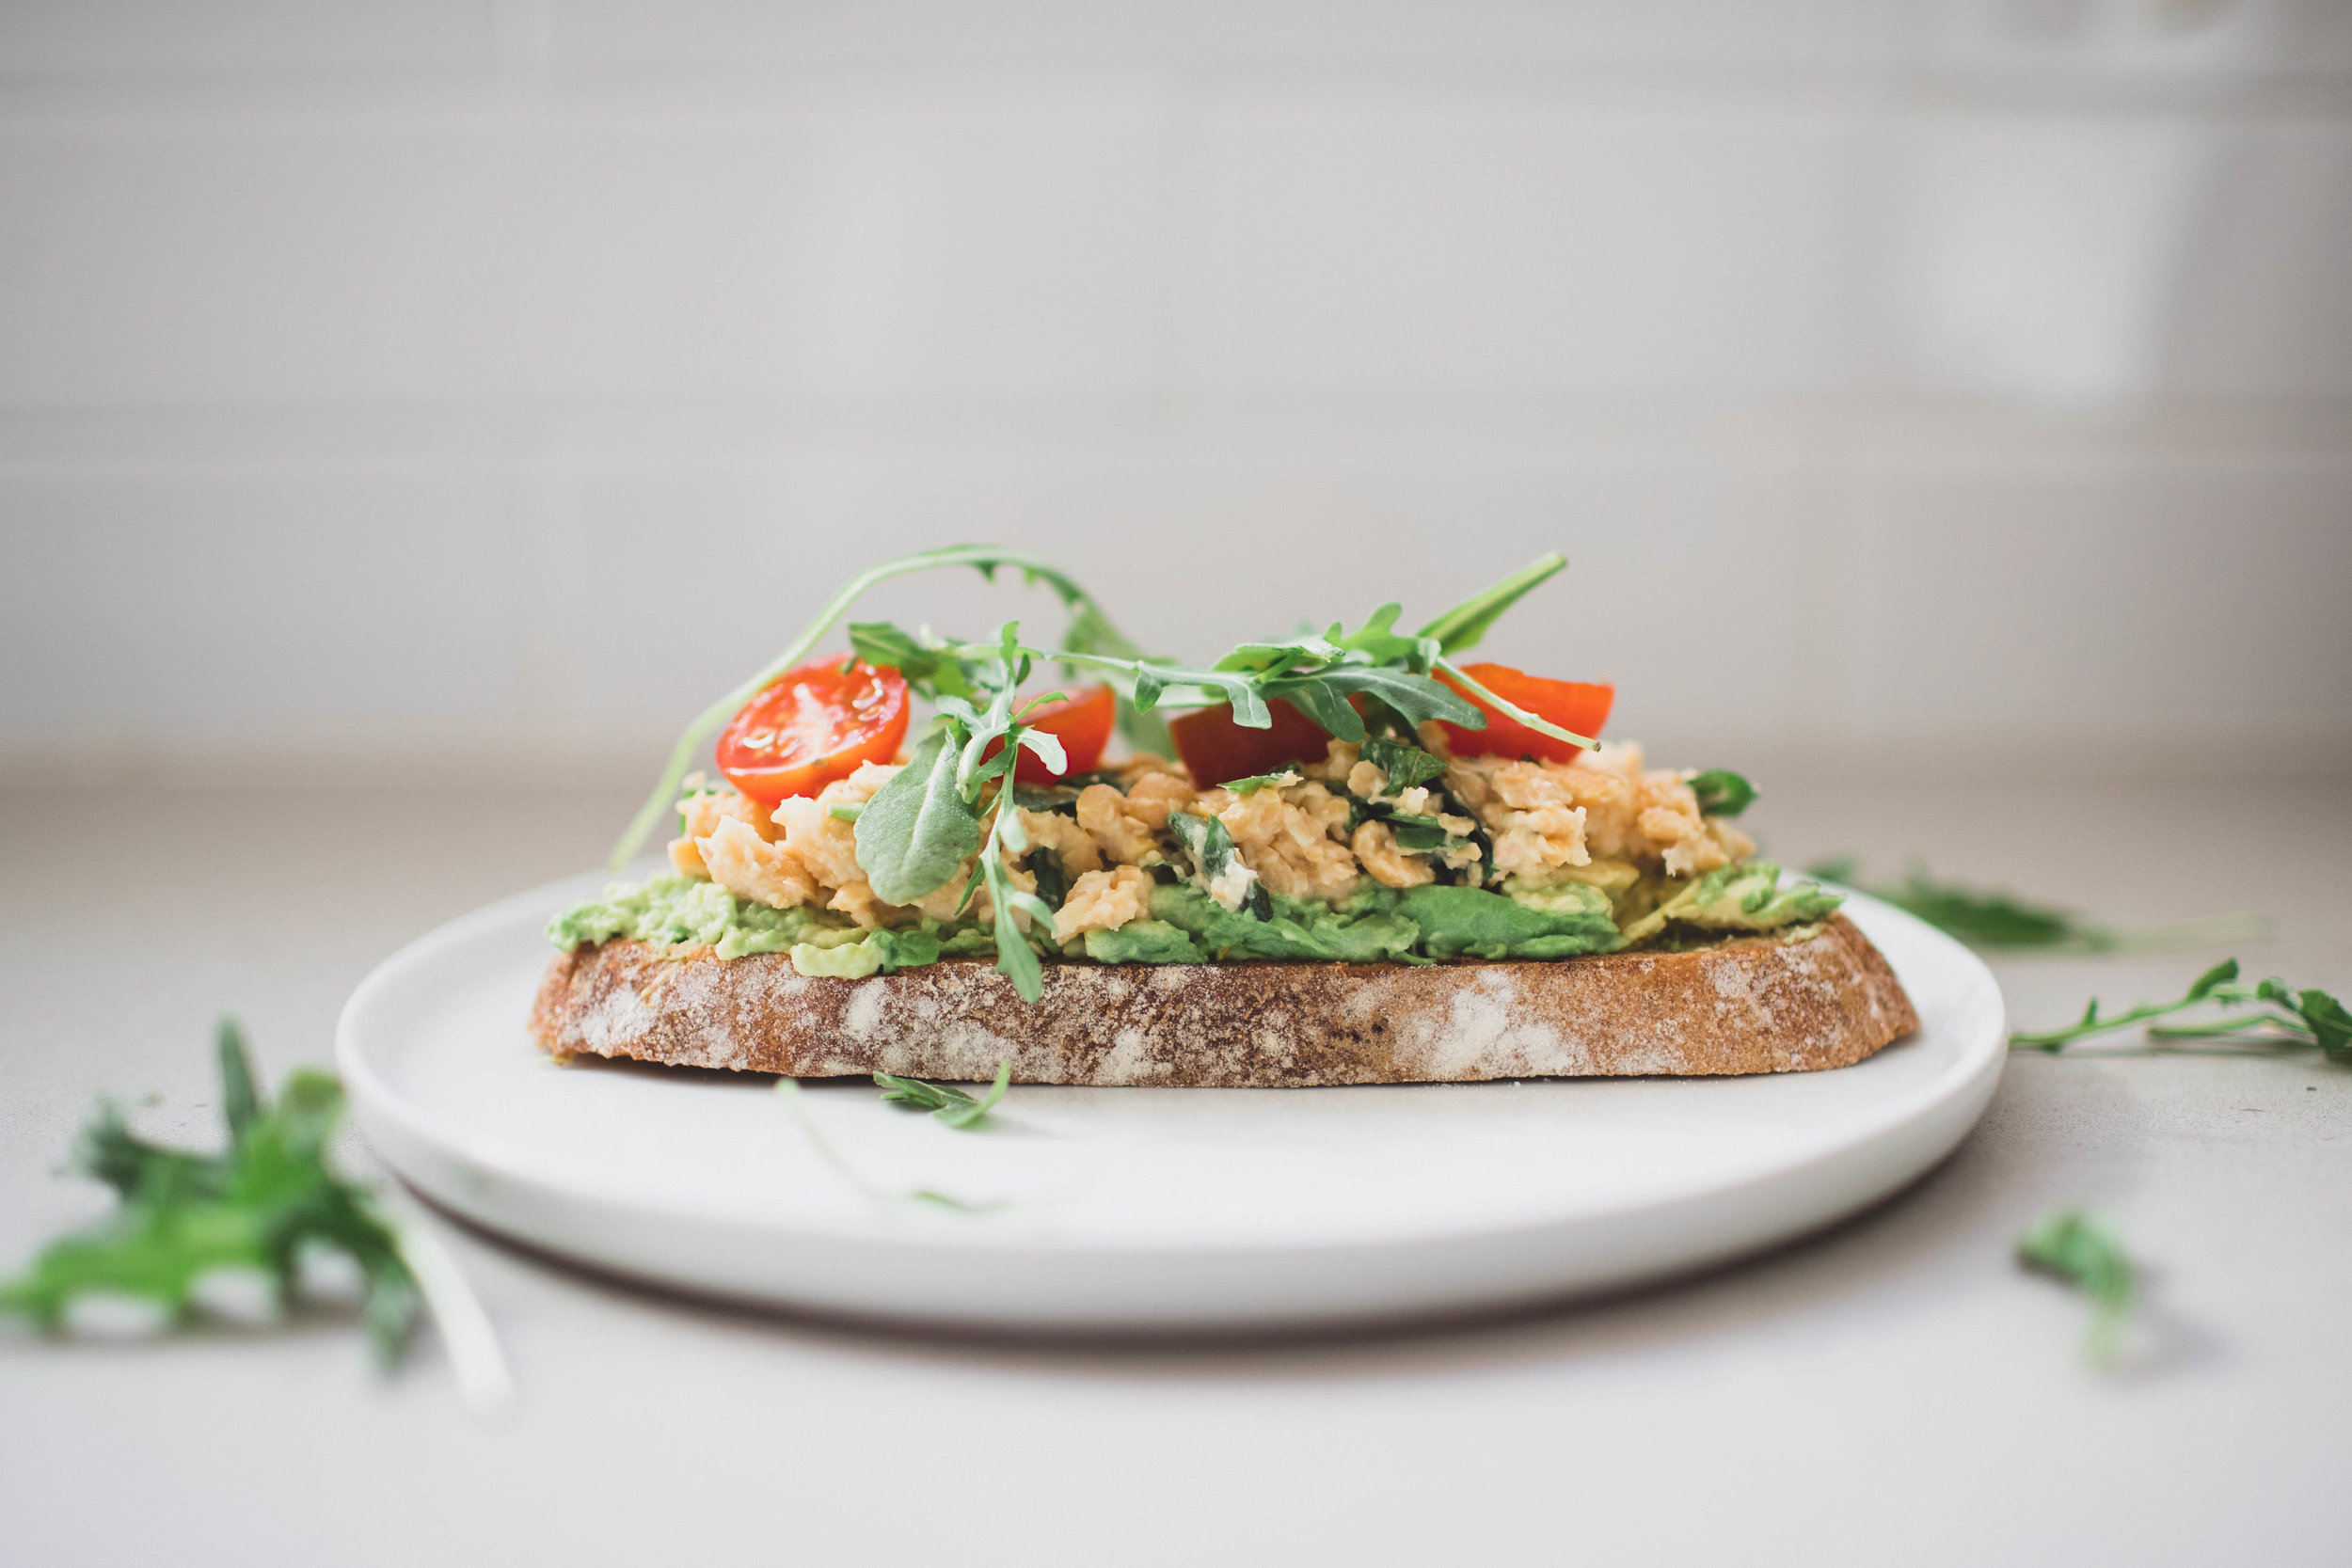
  1. Mash up the chickpeas with a fork. Add the mayo, lemon, juice, salt and pepper and mix it all together. I also love adding chopped apples and celery, as well as chopped fresh herbs (basil, dill, or parsley). You can put it on a sandwich, a wrap, or on a salad!

 
chickpea tuna
 

Ramen Bowl

homemade ramen

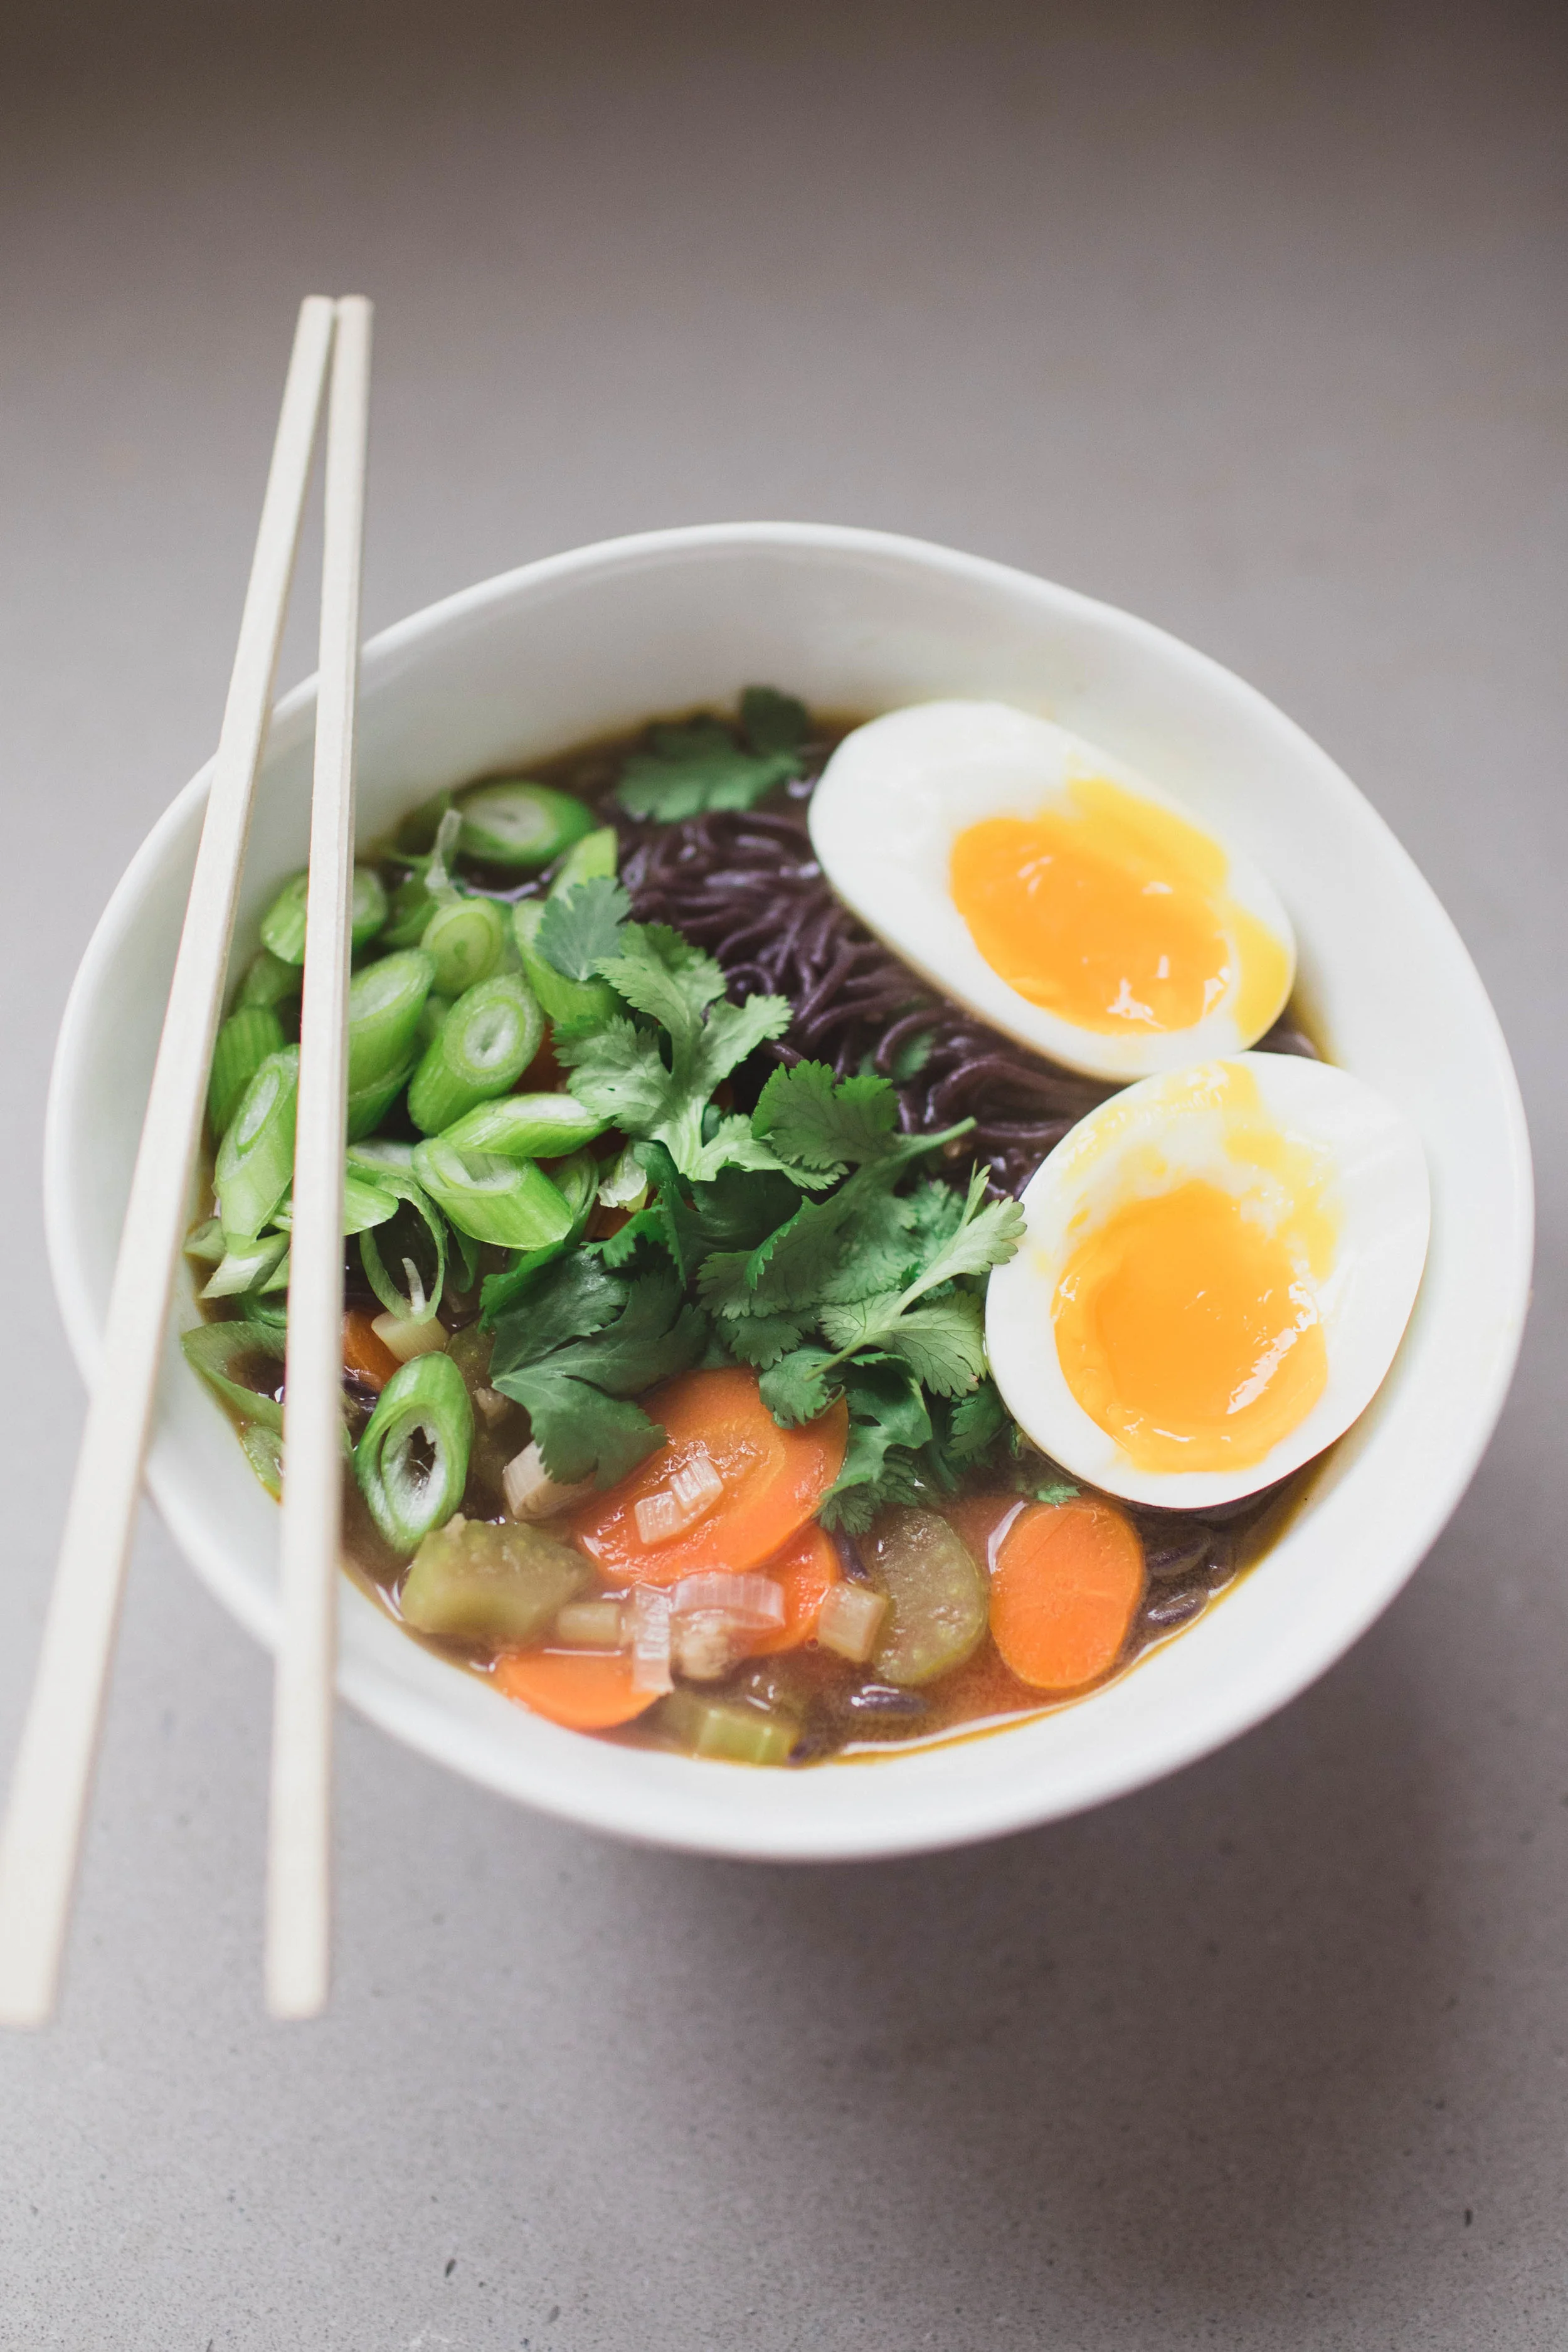
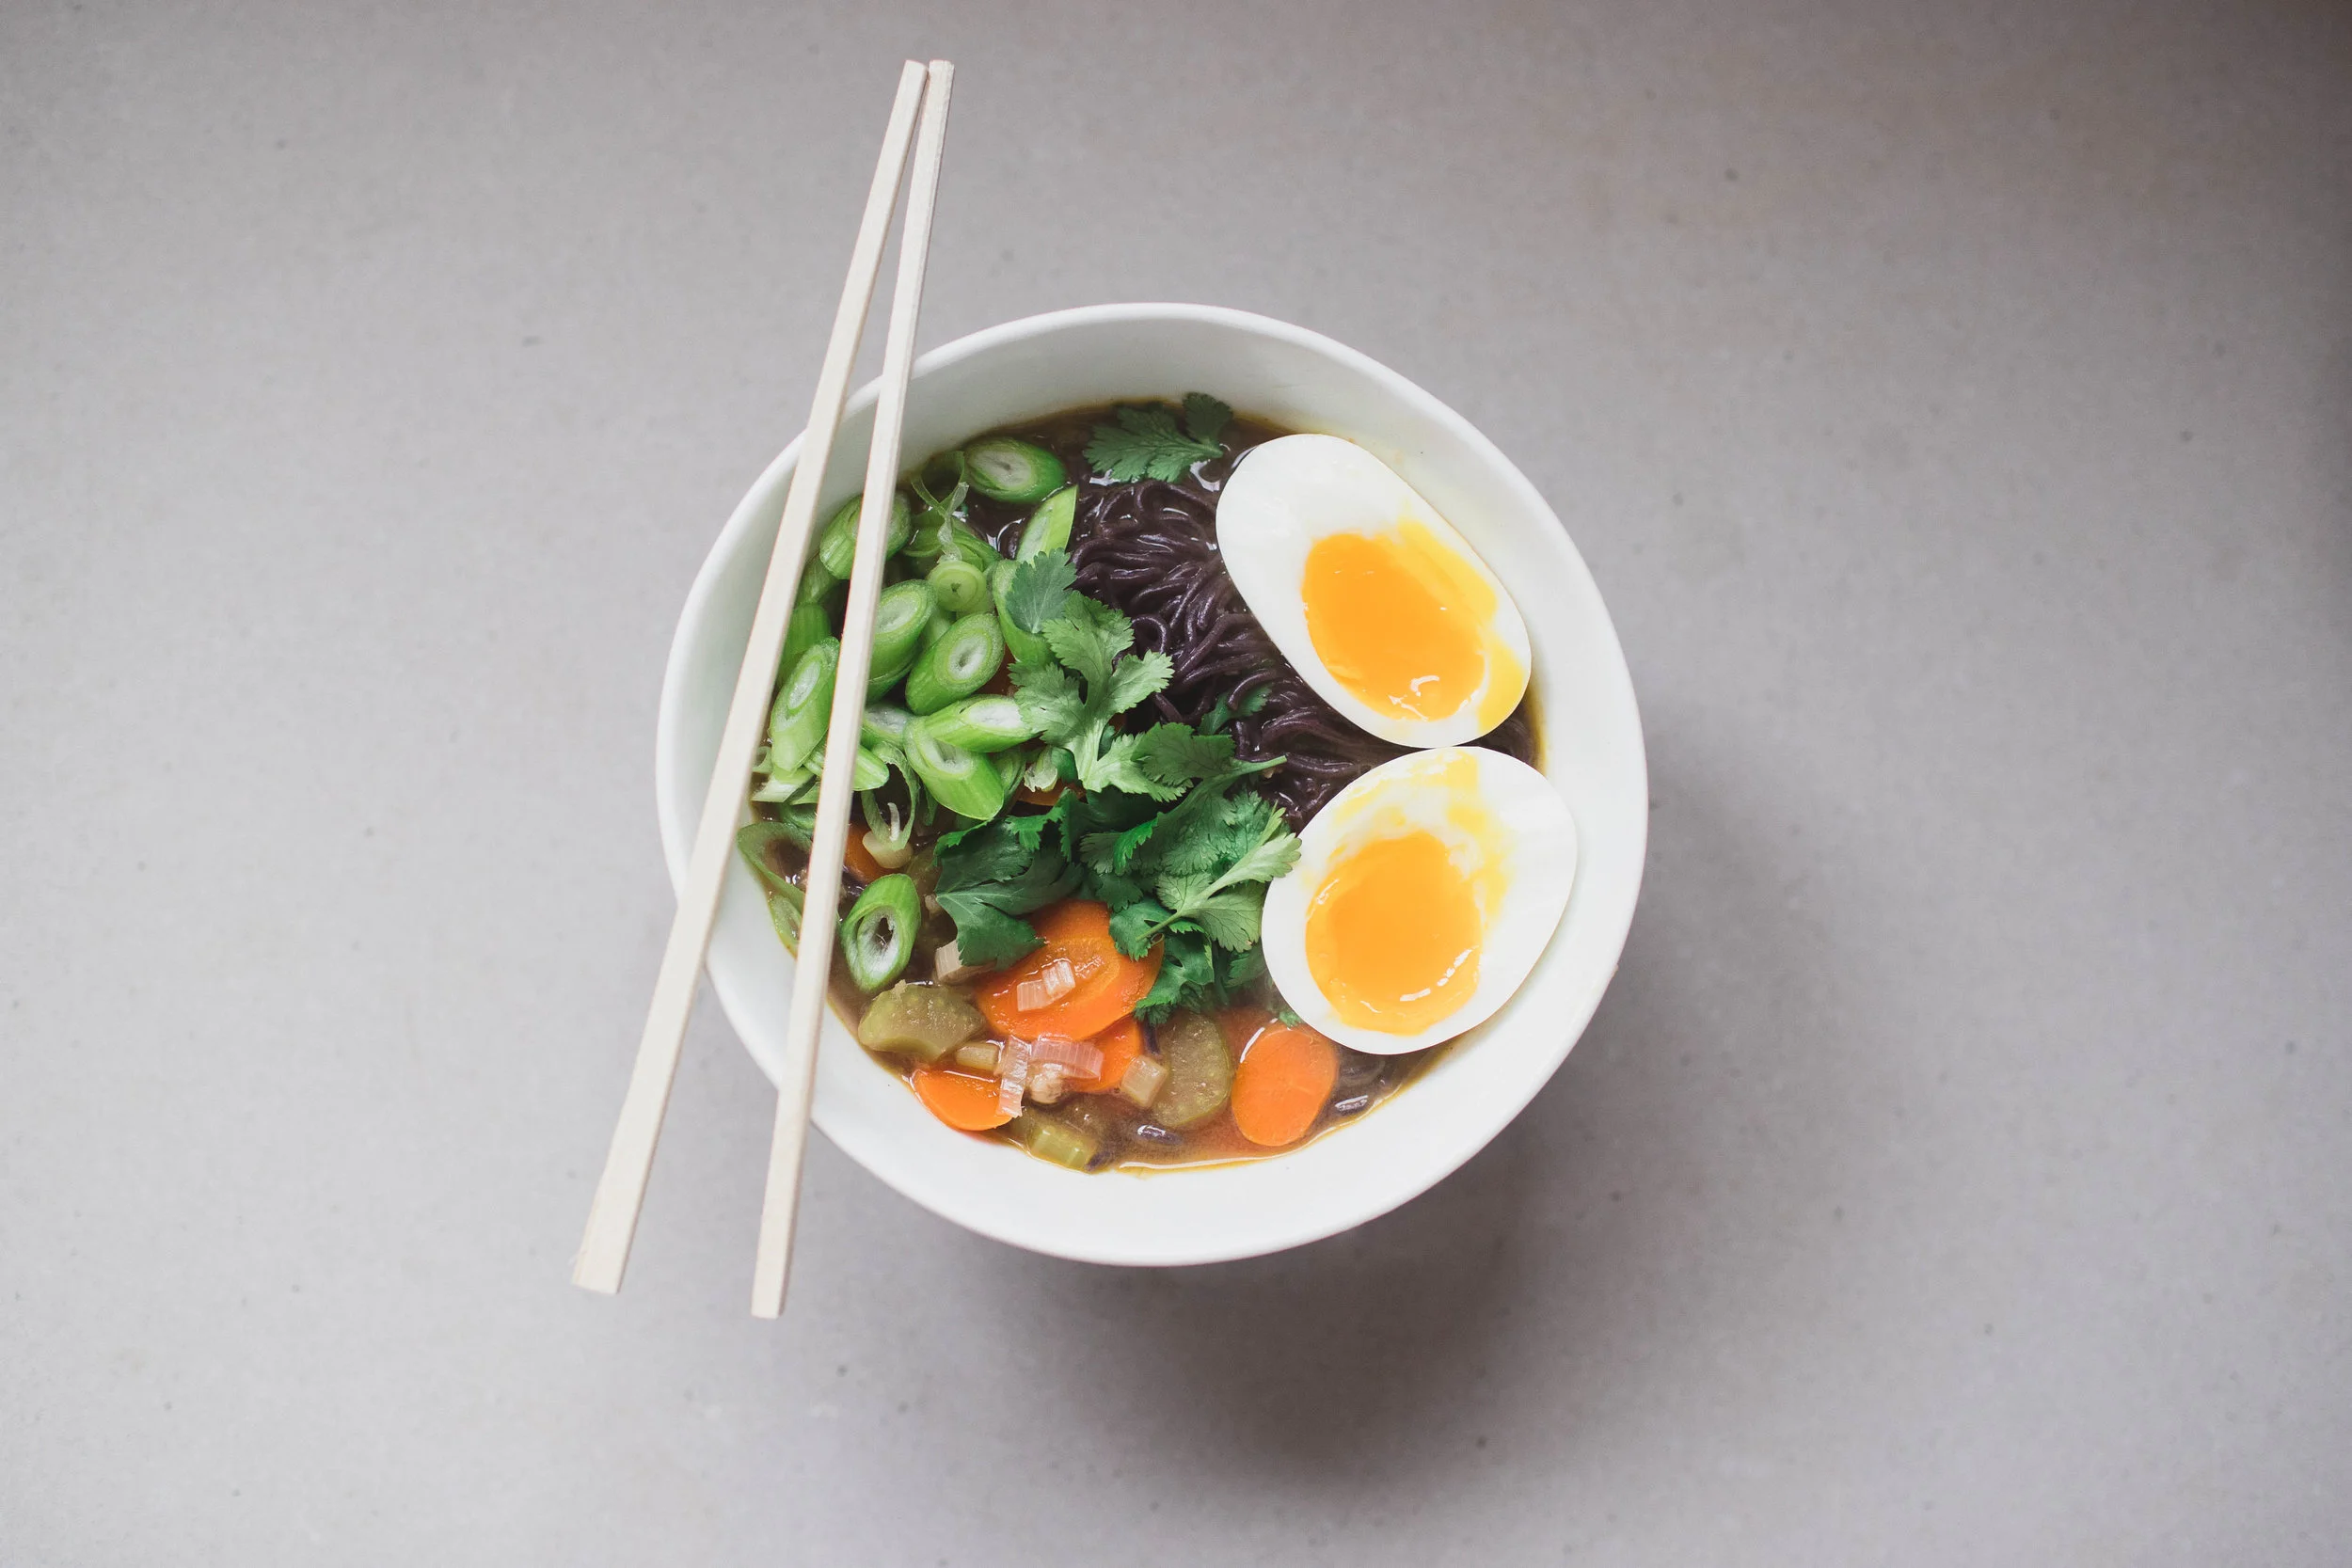
I think most of us have tried the 3 minute “Cup Noodles” or “Top Ramen” packages in our lifetime. Some of us maybe more than we would like! While this isn’t quite as quick and easy as just adding boiling water, it’s still pretty quick and easy. I came down with a cold last week and I was craving some warm and comforting soup, so I came up with this healthy version of top ramen. I hope you enjoy it as much as I did!

 
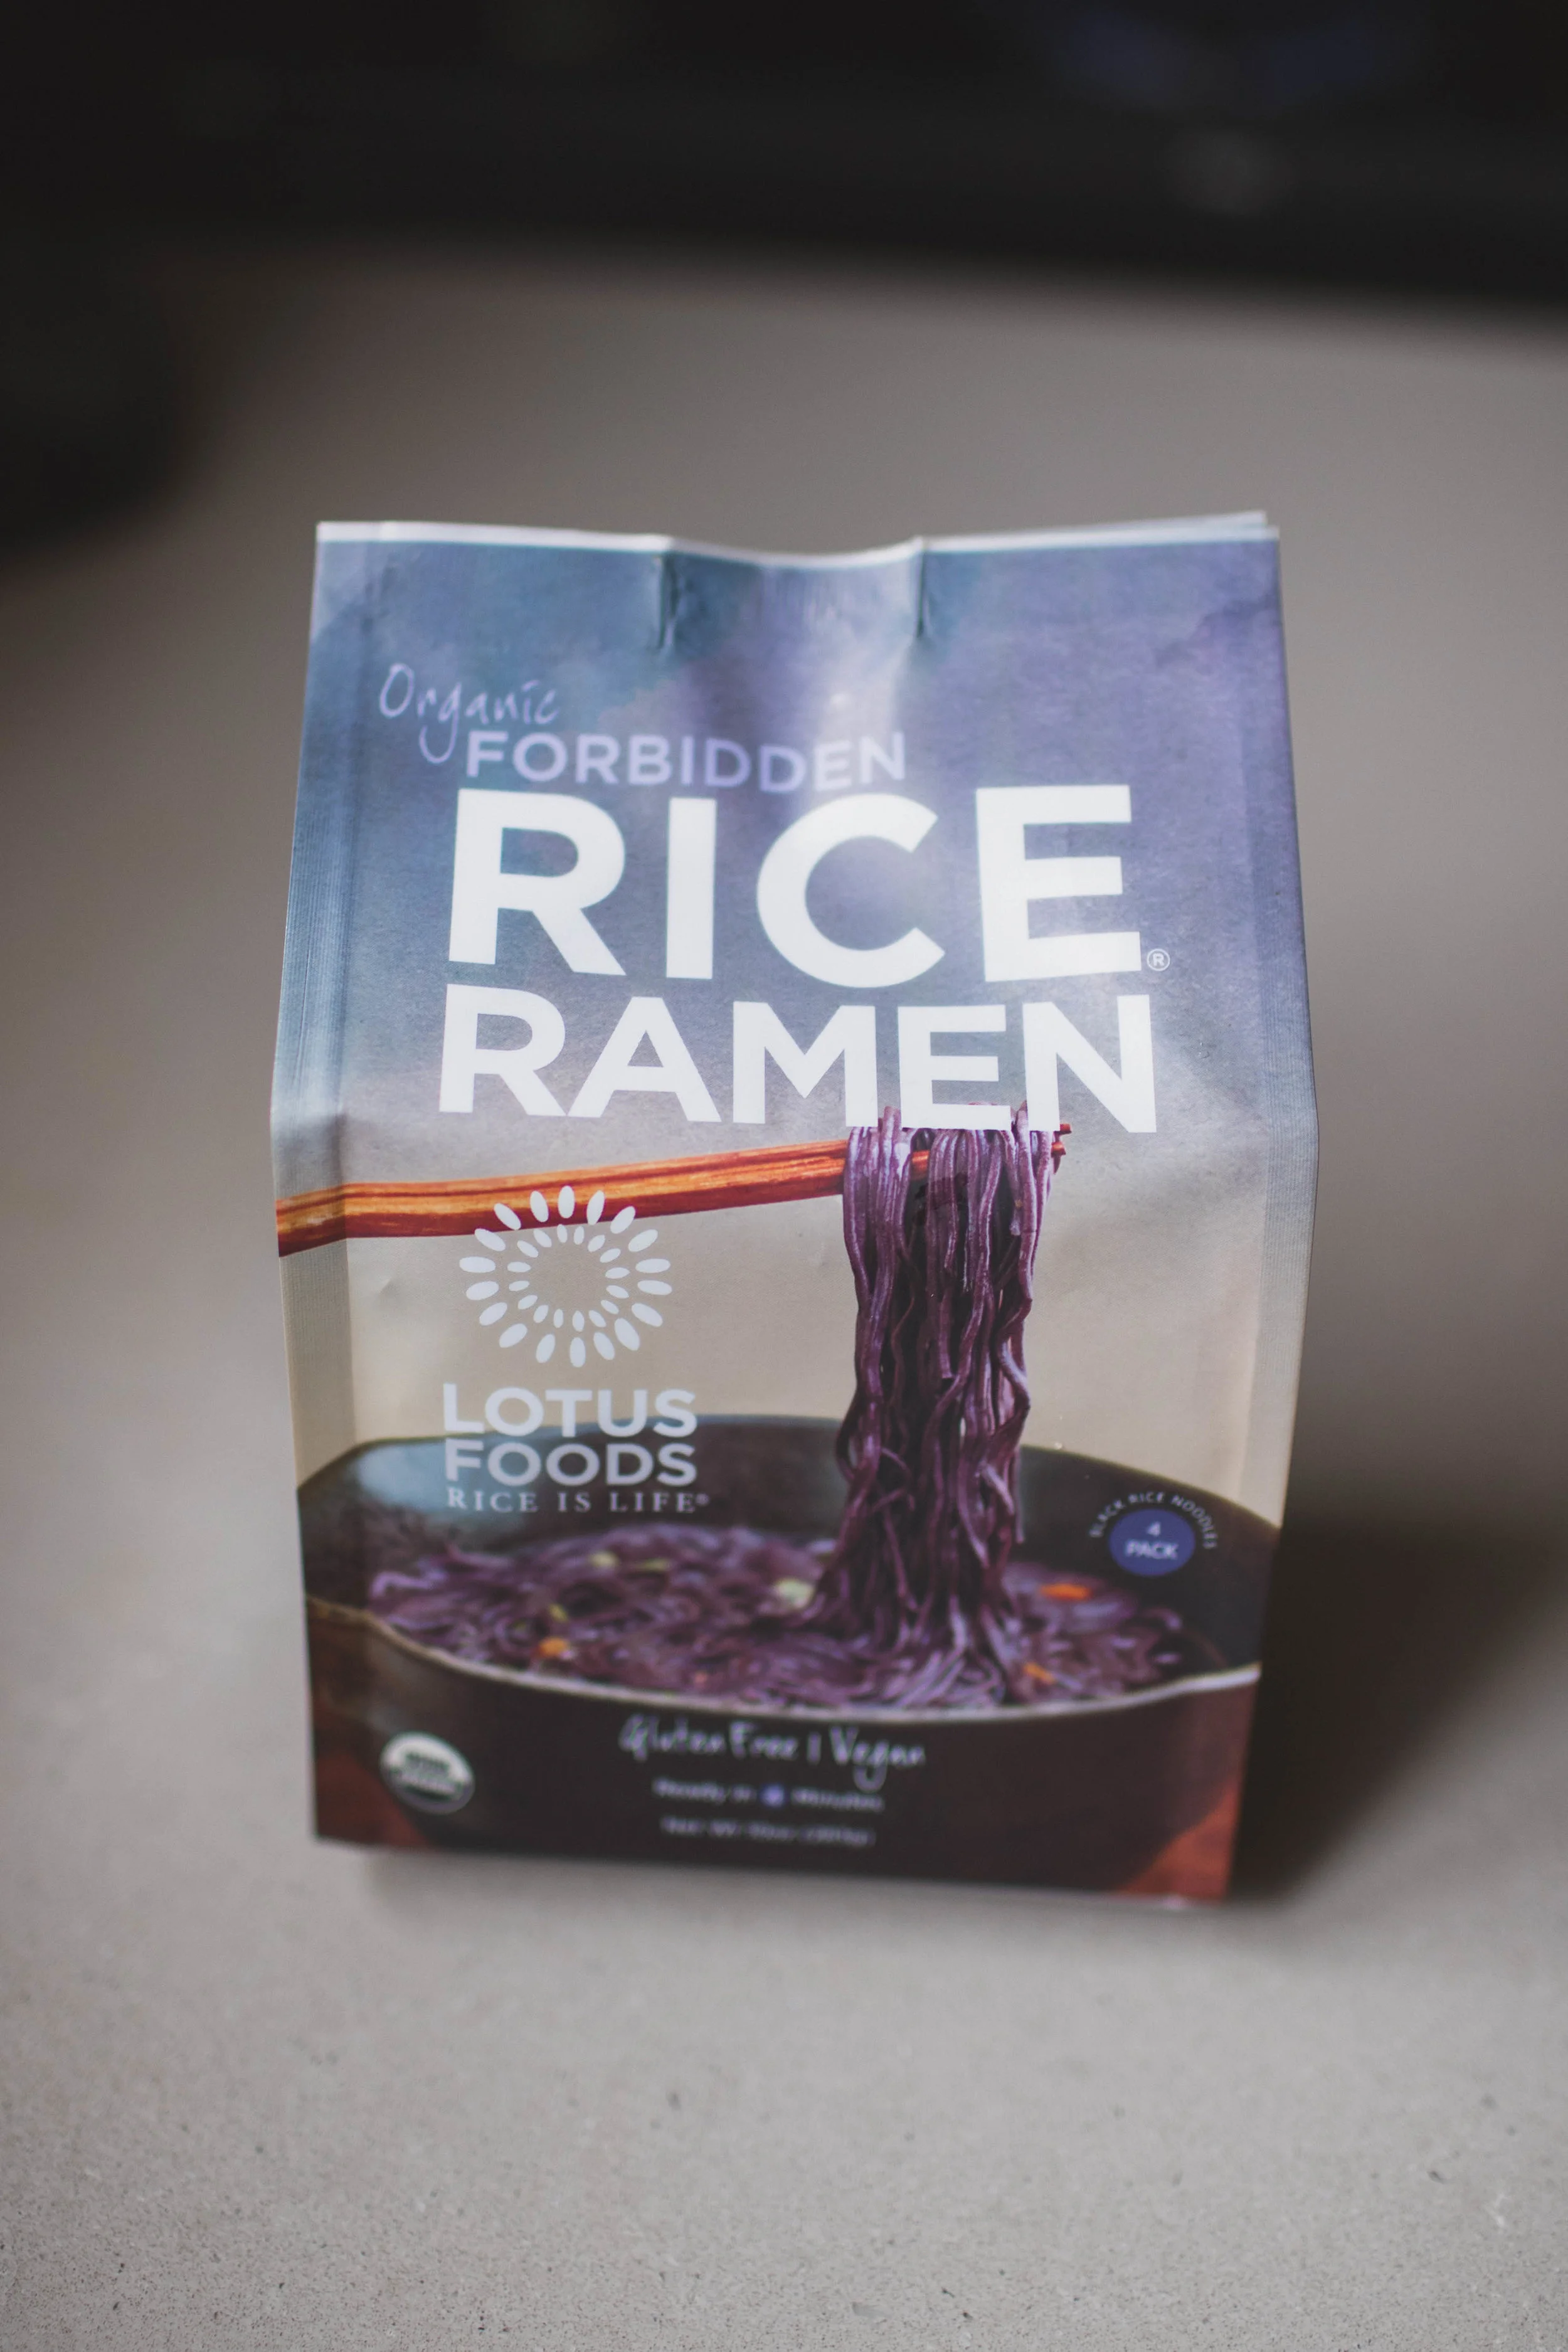
I found these noodles at Whole Foods, but most stores should have something similar.

I found these noodles at Whole Foods, but most stores should have something similar.


homemaderamen
 

Ramen Bowl

Serves: 2

Time: 15-20 min.

Ingredients:

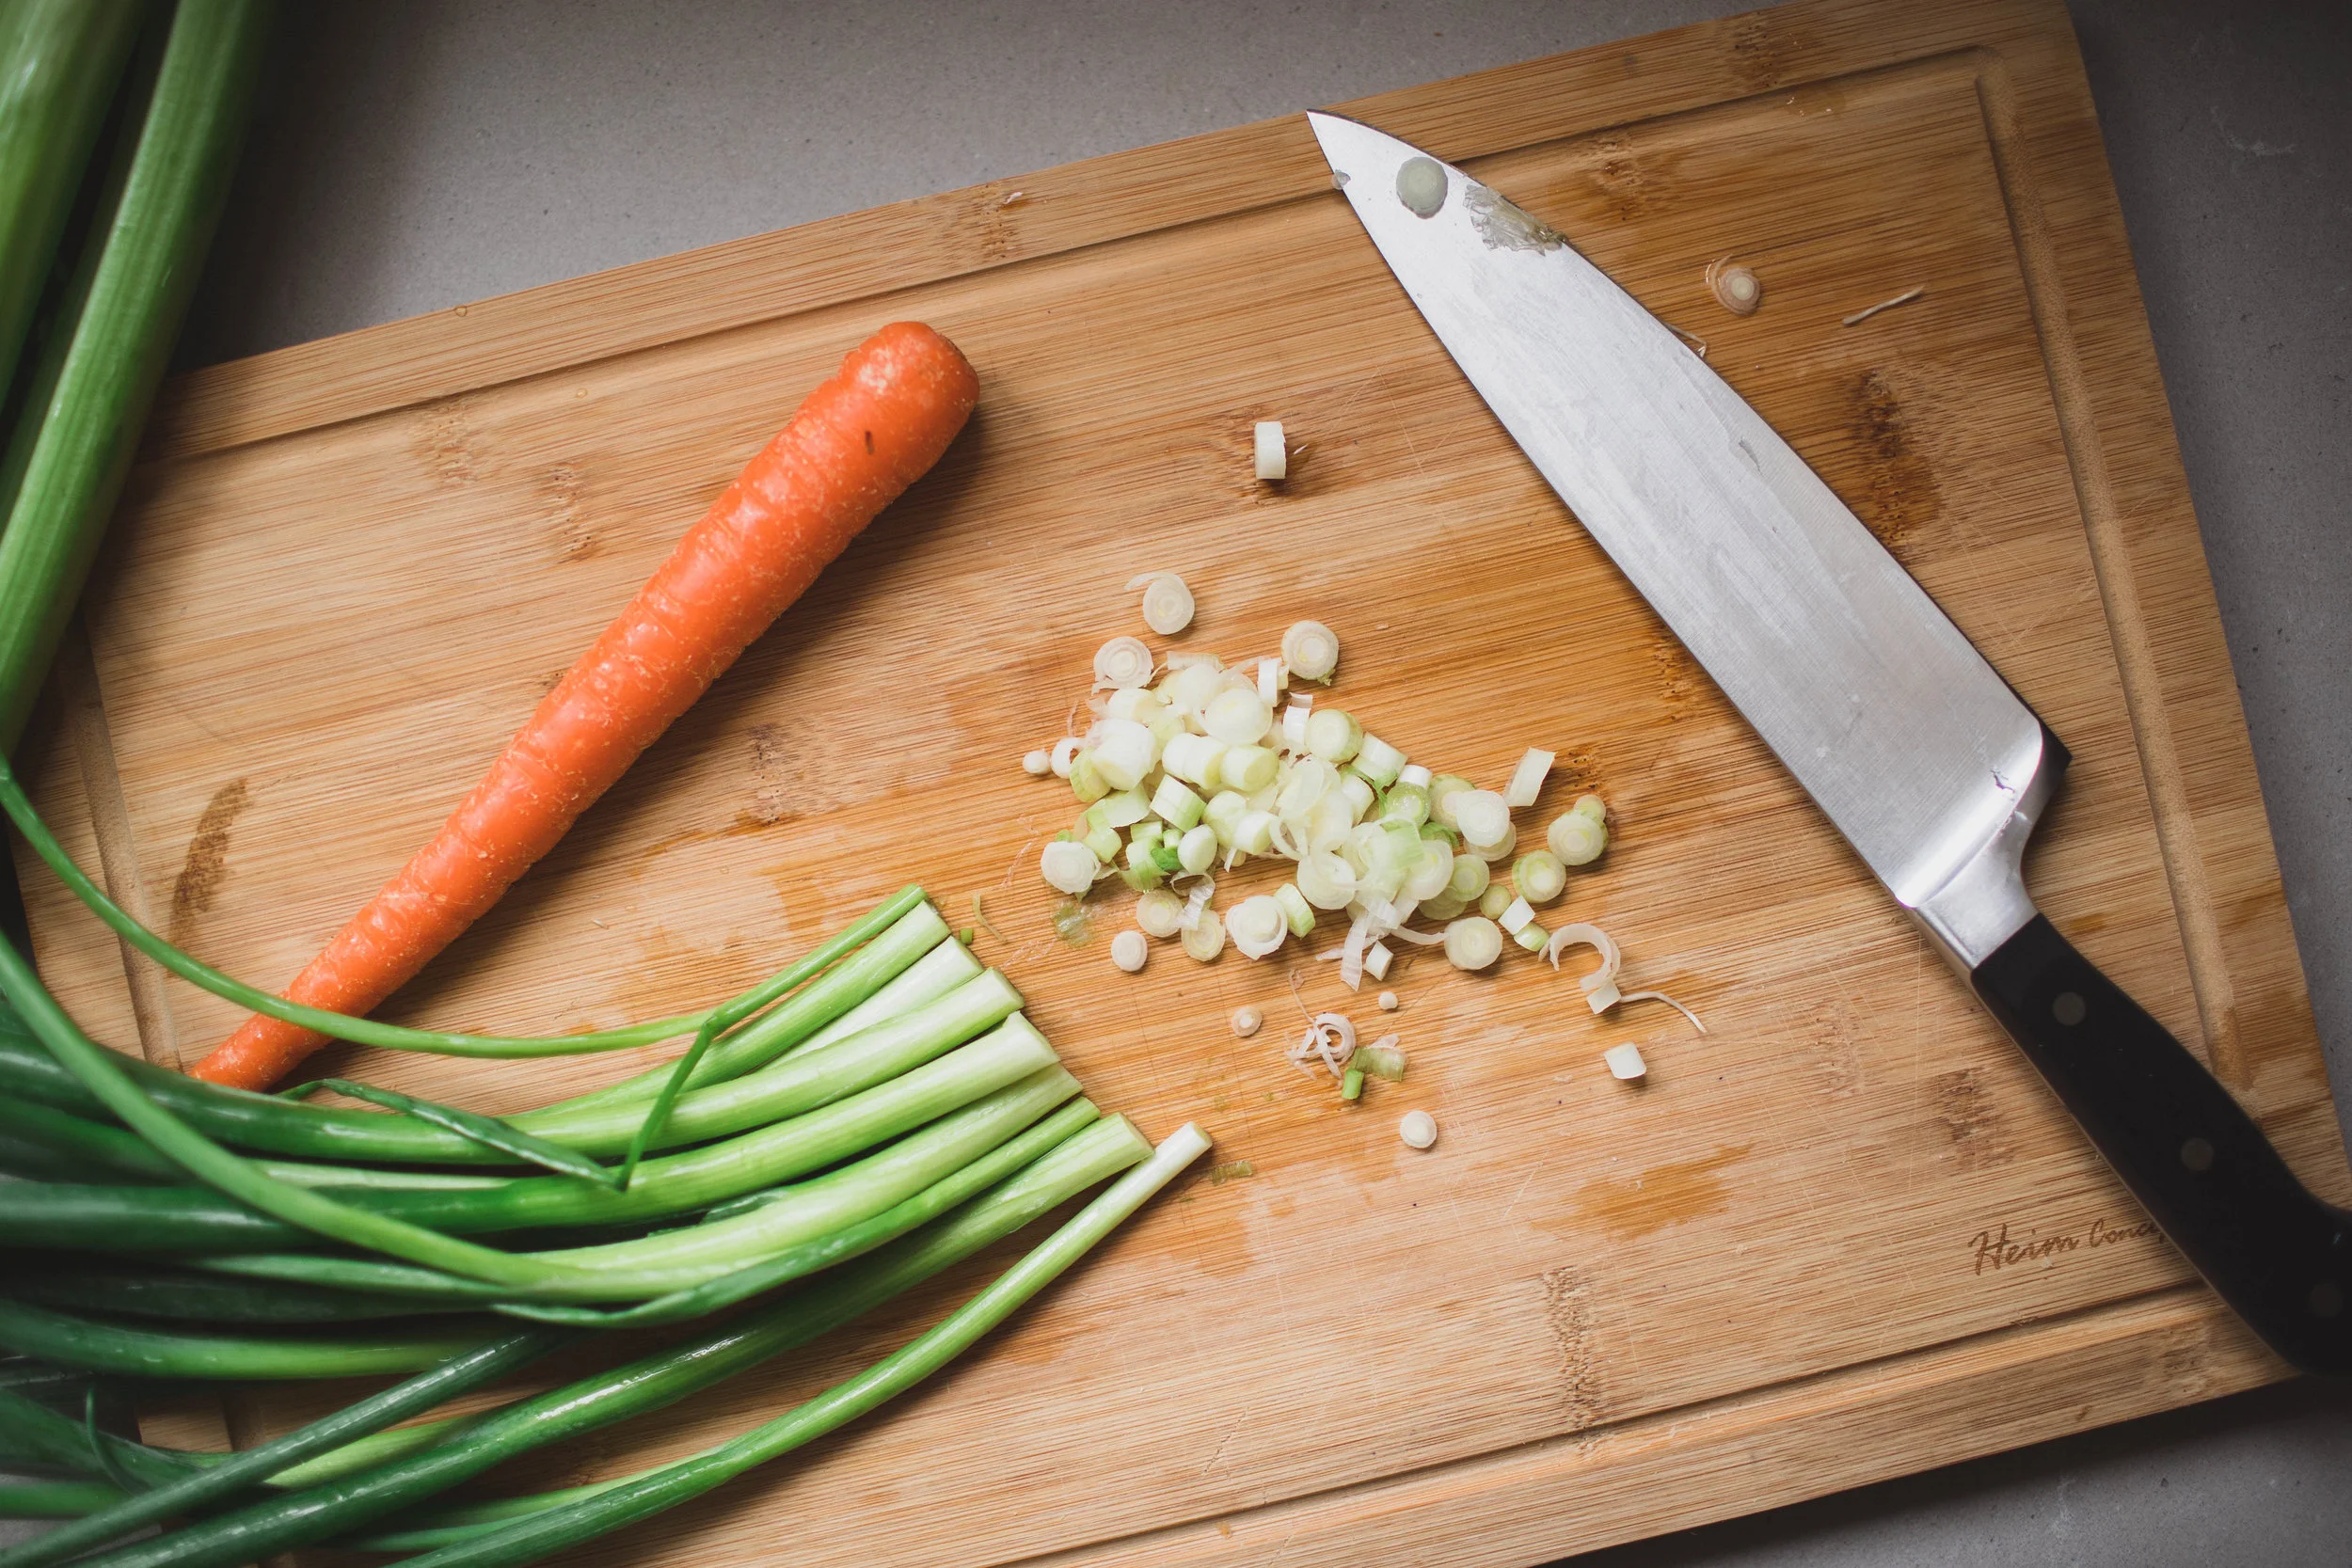
  • 1 bunch green onions

  • 3 cloves garlic

  • 1 inch piece of ginger, grated

  • 2 large carrots

  • 2 stalks celery

  • 2 “cakes’ or ramen noodles

  • 1 Tbs. coconut aminos or soy sauce

  • 4 cups chicken or vegetable broth

  • 1 soft boiled egg

  • 1/2 tsp. salt

Instructions:

  1. Begin by brining a small pot of water to a boil. Once boiling, place two eggs in the boiling water. Set a timer for 8 minutes. Once the timer goes off, remove from the boiling water and set aside.

  2. Wash and chop the green onions up to the light green parts. Peel and mince the garlic and ginger.

  3. Heat 1/2 Tbs. coconut oil in a medium-size pot over medium-low heat. Add the chopped green onions, garlic, and ginger, and sauté over medium-low heat for 3 minutes.

  4. While the green onion, garlic, and ginger are sautéing, wash and chop the carrots and celery into small pieces. Add to the pot and sauté for another 3 minutes.

  5. Add the coconut aminos, broth, and salt to the pot, and simmer for 5 minutes.

  6. Once the vegetables begin to soften, add the noodles and simmer for another 3 minutes until the noodles are soft.

  7. Top with chopped green onions, chopped cilantro or parsley, and the soft boiled egg.

homemade ramen bowl

Chocolate Peanut Butter Smoothie

chocolate peanut butter smoothie

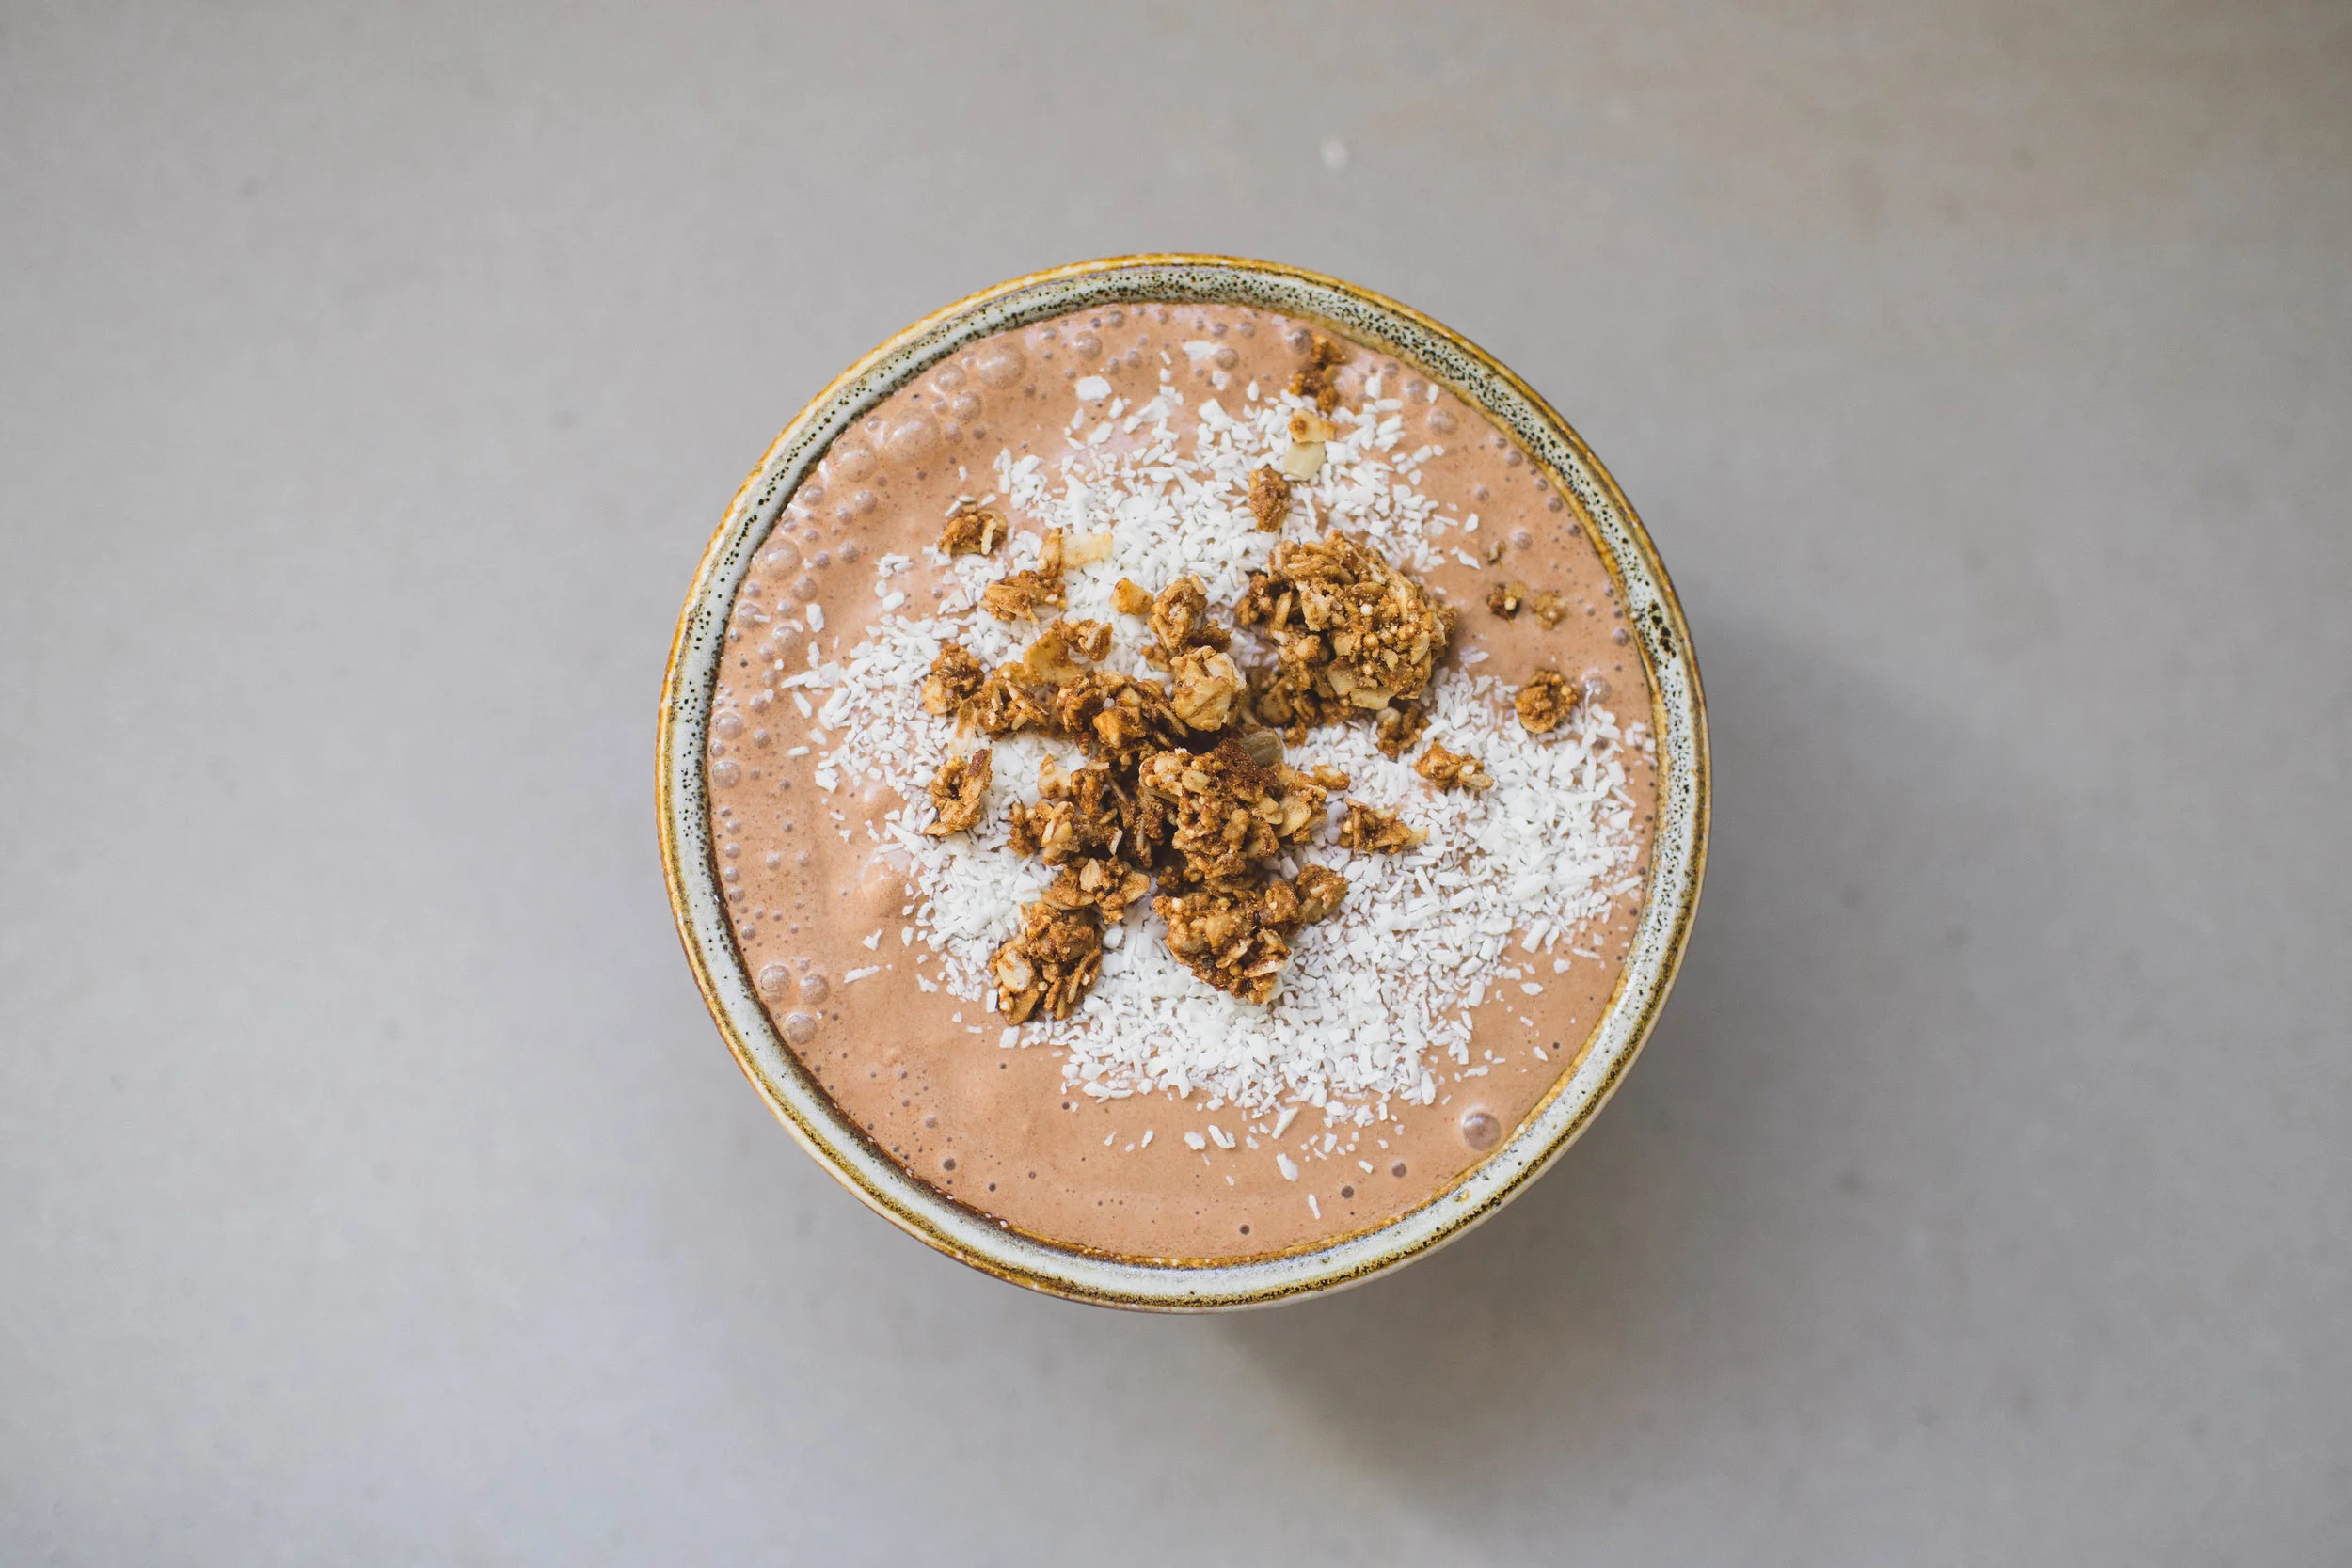
I’ve been drinking this smoothie every other day for about a week now. I can’t get over how good it is! It’s smooth, creamy, and PERFECTLY sweet. It feels like I’m eating dessert, but there’s so much goodness in it. I’ve switched it up by using different types of milk and nut butters. It tastes great with cashew or almond butter as well. You can also add frozen cauliflower or frozen avocado for even more creaminess! I hope you enjoy modifying this smoothie to fit your taste :)

Chocolate Peanut Butter Smoothie

Serves: 1

Time: 3 min.

Ingredients:

  • 1/2 frozen banana

  • 2 dates

  • 2 Tbs. peanut butter

  • 1 Tbs. cocoa powder

  • 3/4 c. almond milk (or other milk)

  • 2 c. ice

  • 2 scoops collagen peptides (optional)

Instructions:

  1. Put all the ingredients in a blender, and blend until smooth and creamy. Add granola, chia seeds, hemp seeds, or shredded coconut to the top. Yum!

Quick Lentil Curry

Quick, Healthy, Budget-Friendly-9.jpg

It’s warm, flavorful, and just the right amount of spicy (coming from someone who doesn’t handle spice very well). This recipe can be served with brown rice, quinoa, or with naan. I also added a spoonful of plain whole milk Greek yogurt to balance out the rich flavor of the curry. I hope you enjoy this quick, healthy, and budget-friendly meal!

 
Quick, Healthy, Budget-Friendly-8.jpg
 

Quick Lentil Curry

Serves: 4

Time: 15 min.

Ingredients:

  • 1 onion (.50)

  • 2 cloves garlic (.15)

  • 1.5 Tbs. curry powder (.50)

  • 1 can tomato paste (.50)

  • 1 can full fat coconut milk (2.99)

  • 1 cup cooked lentils (you can buy pre-cooked from TJ’s) (.69)

  • 2 cups spinach (1.00)

  • 1/2 lime, juiced (.50)

  • 1/2 tsp. salt (.05)

Instructions:

  1. If the lentils aren’t already cooked, begin by boiling 3 cups water or broth. Once boiling, add the lentils, then cover and simmer until tender (about 15 minutes).

  2. Wash the onion and chop into small pieces. Peel and mince the garlic cloves. Heat 1 Tbs. oil in a cast iron pan over medium-low heat.

  3. Sauté the onion until translucent, then add the minced garlic. After another 5 minutes, add the tomato paste and curry powder. Stir until evenly distributed.

  4. Add the coconut milk, cooked lentils, spinach, lime juice, and salt. Let everything simmer for 5-10 minutes.

  5. Serve with rice, quinoa, or naan. Garnish with chopped parsley and plain yogurt.

Quick, Healthy, Budget-Friendly-11.jpg

Grilled Corn Salad

 
food-3.jpg
 

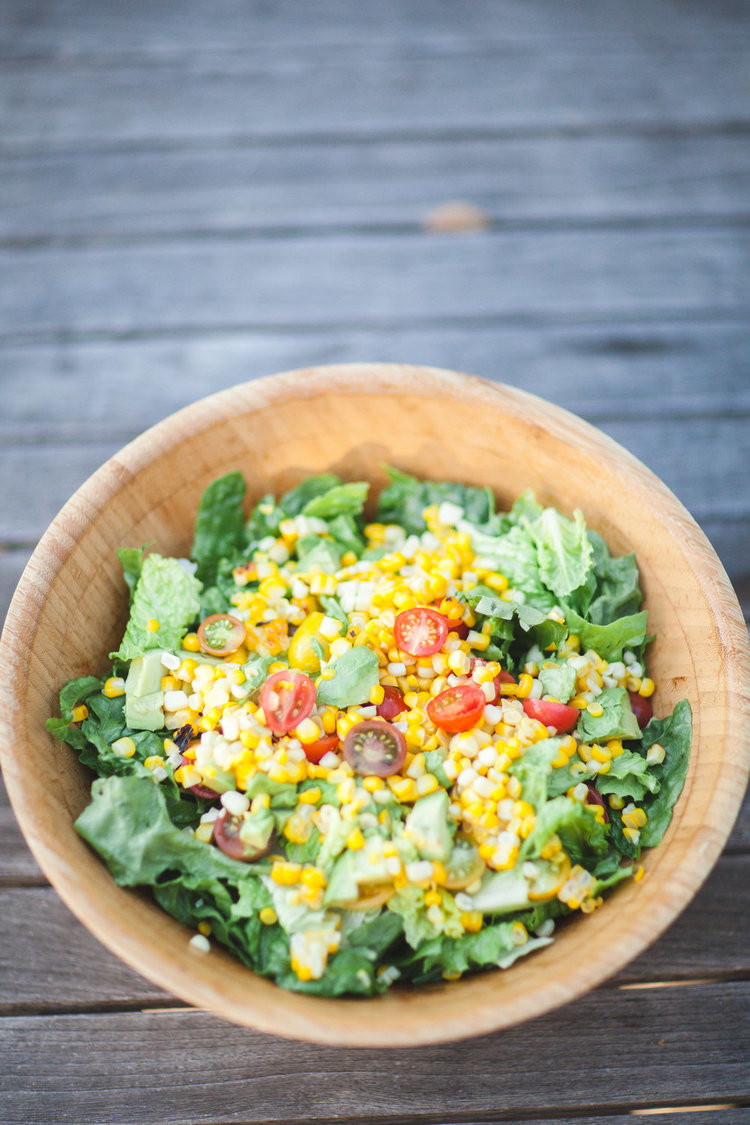
This is the perfect salad recipe to add to some summer grilling, and it is so easy! 

Salad:

  • 1 head of lettuce

  • 1 ear of sweet yellow corn

  • 1 avocado

  • 1-2 cups cherry tomatoes, halved

  • goat cheese or feta cheese on top

Dressing:

  • 1/4 cup fresh basil

  • 2 Tbs. apple cider vinegar

  • 2 Tbs. olive oil

  • 1 tsp. honey

  • salt and pepper to taste

Directions:

  1. Shuck the ear of corn, and completely wrap it in foil. Place on the grill and cook for about 15 minutes. If you don't want to use the grill, you can shave off the corn and sauté it on the stove with olive oil.

  2. Place all of the dressing ingredients in a blender and blend until smooth.

  3. Assemble the salad ingredients, combine with the dressing, and enjoy!

*(You can add more or less honey to the dressing to your liking. If you want a thicker dressing, mix with a little bit of dijon mustard).

Pumpkin Cinnamon Sourdough Twist Bread

 
pumpkincinnamontwistbread-9.jpg
 

I love my parents house for a few reasons:

Obviously, because my family is there :)

It’s in the countryside where there’s beautiful green fields, trees, and peace and quiet.

My mom cooks the most amazing food.

They have a wood stove!

With the rain, changing colors, and cooler weather comes warm, cozy fires :) Since Sid and I are driving back to Santa Barbara in just a couple of weeks, I feel like I have to take full advantage of fall while I’m here in Washington. I know we’ve barely finished summer, but I’m already dreaming of pumpkin baked goods and everything that comes with fall! It’s like I have two weeks to soak up fall before I move back to summer in Santa Barbara.

Recently, I came across a photo of a Chocolate Cinnamon Sourdough Twist bread on mydailysourdoughbread.com, and I thought it looked pretty amazing. Unfortunately, I’m trying to stay away from all added sugar for a month. There goes the chocolate cinnamon twist bread… BUT… I can have dates! And you know what’s almost as good as chocolate? Pumpkin.

Let’s do this!!!

 
pumpkincinnamontwistbread-12.jpg
 

Levain:

  • 1 Tbs. Sourdough starter

  • 100 g. warm water

  • 100 g. whole wheat flour

Bread Dough:

  • 200 g. Levain (all of it)

  • 180 g. warm whole milk (I subbed 100 g. coconut milk + 80 g. water)

  • 180 g. pumpkin puree

  • 1 egg yolk

  • 2 Tbs. melted butter

  • 390 g. whole wheat flour (or mixture of white/wheat)

  • 6 g. sea salt

Filling:

  • 12 dates, pitted

  • 1/4 c. pumpkin puree

  • 2 Tbs. butter

  • 1 Tbs. cinnamon

  1. The night before you make the bread, prepare the levain. Add the starter, water, and flour to a bowl, mix together, cover with plastic wrap, and let it sit overnight.

  2. In the morning, combine your levain, the warm milk, melted butter, pumpkin puree and egg yolk. Stir with a spoon until well combined.

  3. Add the flour and salt, and mix together with your hands until there’s no more dry bits of flour.

  4. The dough will be sticky, but do your best to need the dough for 5 minutes.

  5. After you’ve kneaded the dough, let it sit for 30 minutes. After 30 minutes, stretch and fold the dough. To stretch and fold the dough, pick up one side of the dough with wet hands and fold over the rest of the dough. Repeat on all four sides of the dough. You will perform three more sets of this spaced 30 minutes apart for a total of four sets of stretches and folds. After four sets of stretches and folds, let the dough sit for one more hour.

  6. While the dough is rising, prepare the filling. In a food processor, combine the dates, butter, pumpkin puree, and cinnamon. Food process until smooth.

pumpkincinnamontwistbread.jpg
pumpkincinnamontwistbread-3.jpg

7. Once the dough has finished rising, flour a clean surface and roll out the dough into a large rectangle about 5-10 mm thick.

8. Spoon the filling onto the rectangle of dough, and spread out evenly over the surface all the way to the edges. Picking up the edges on the long side of the rectangle, carefully roll the dough up into a long log.

pumpkincinnamontwistbread-4.jpg
pumpkincinnamontwistbread-5.jpg

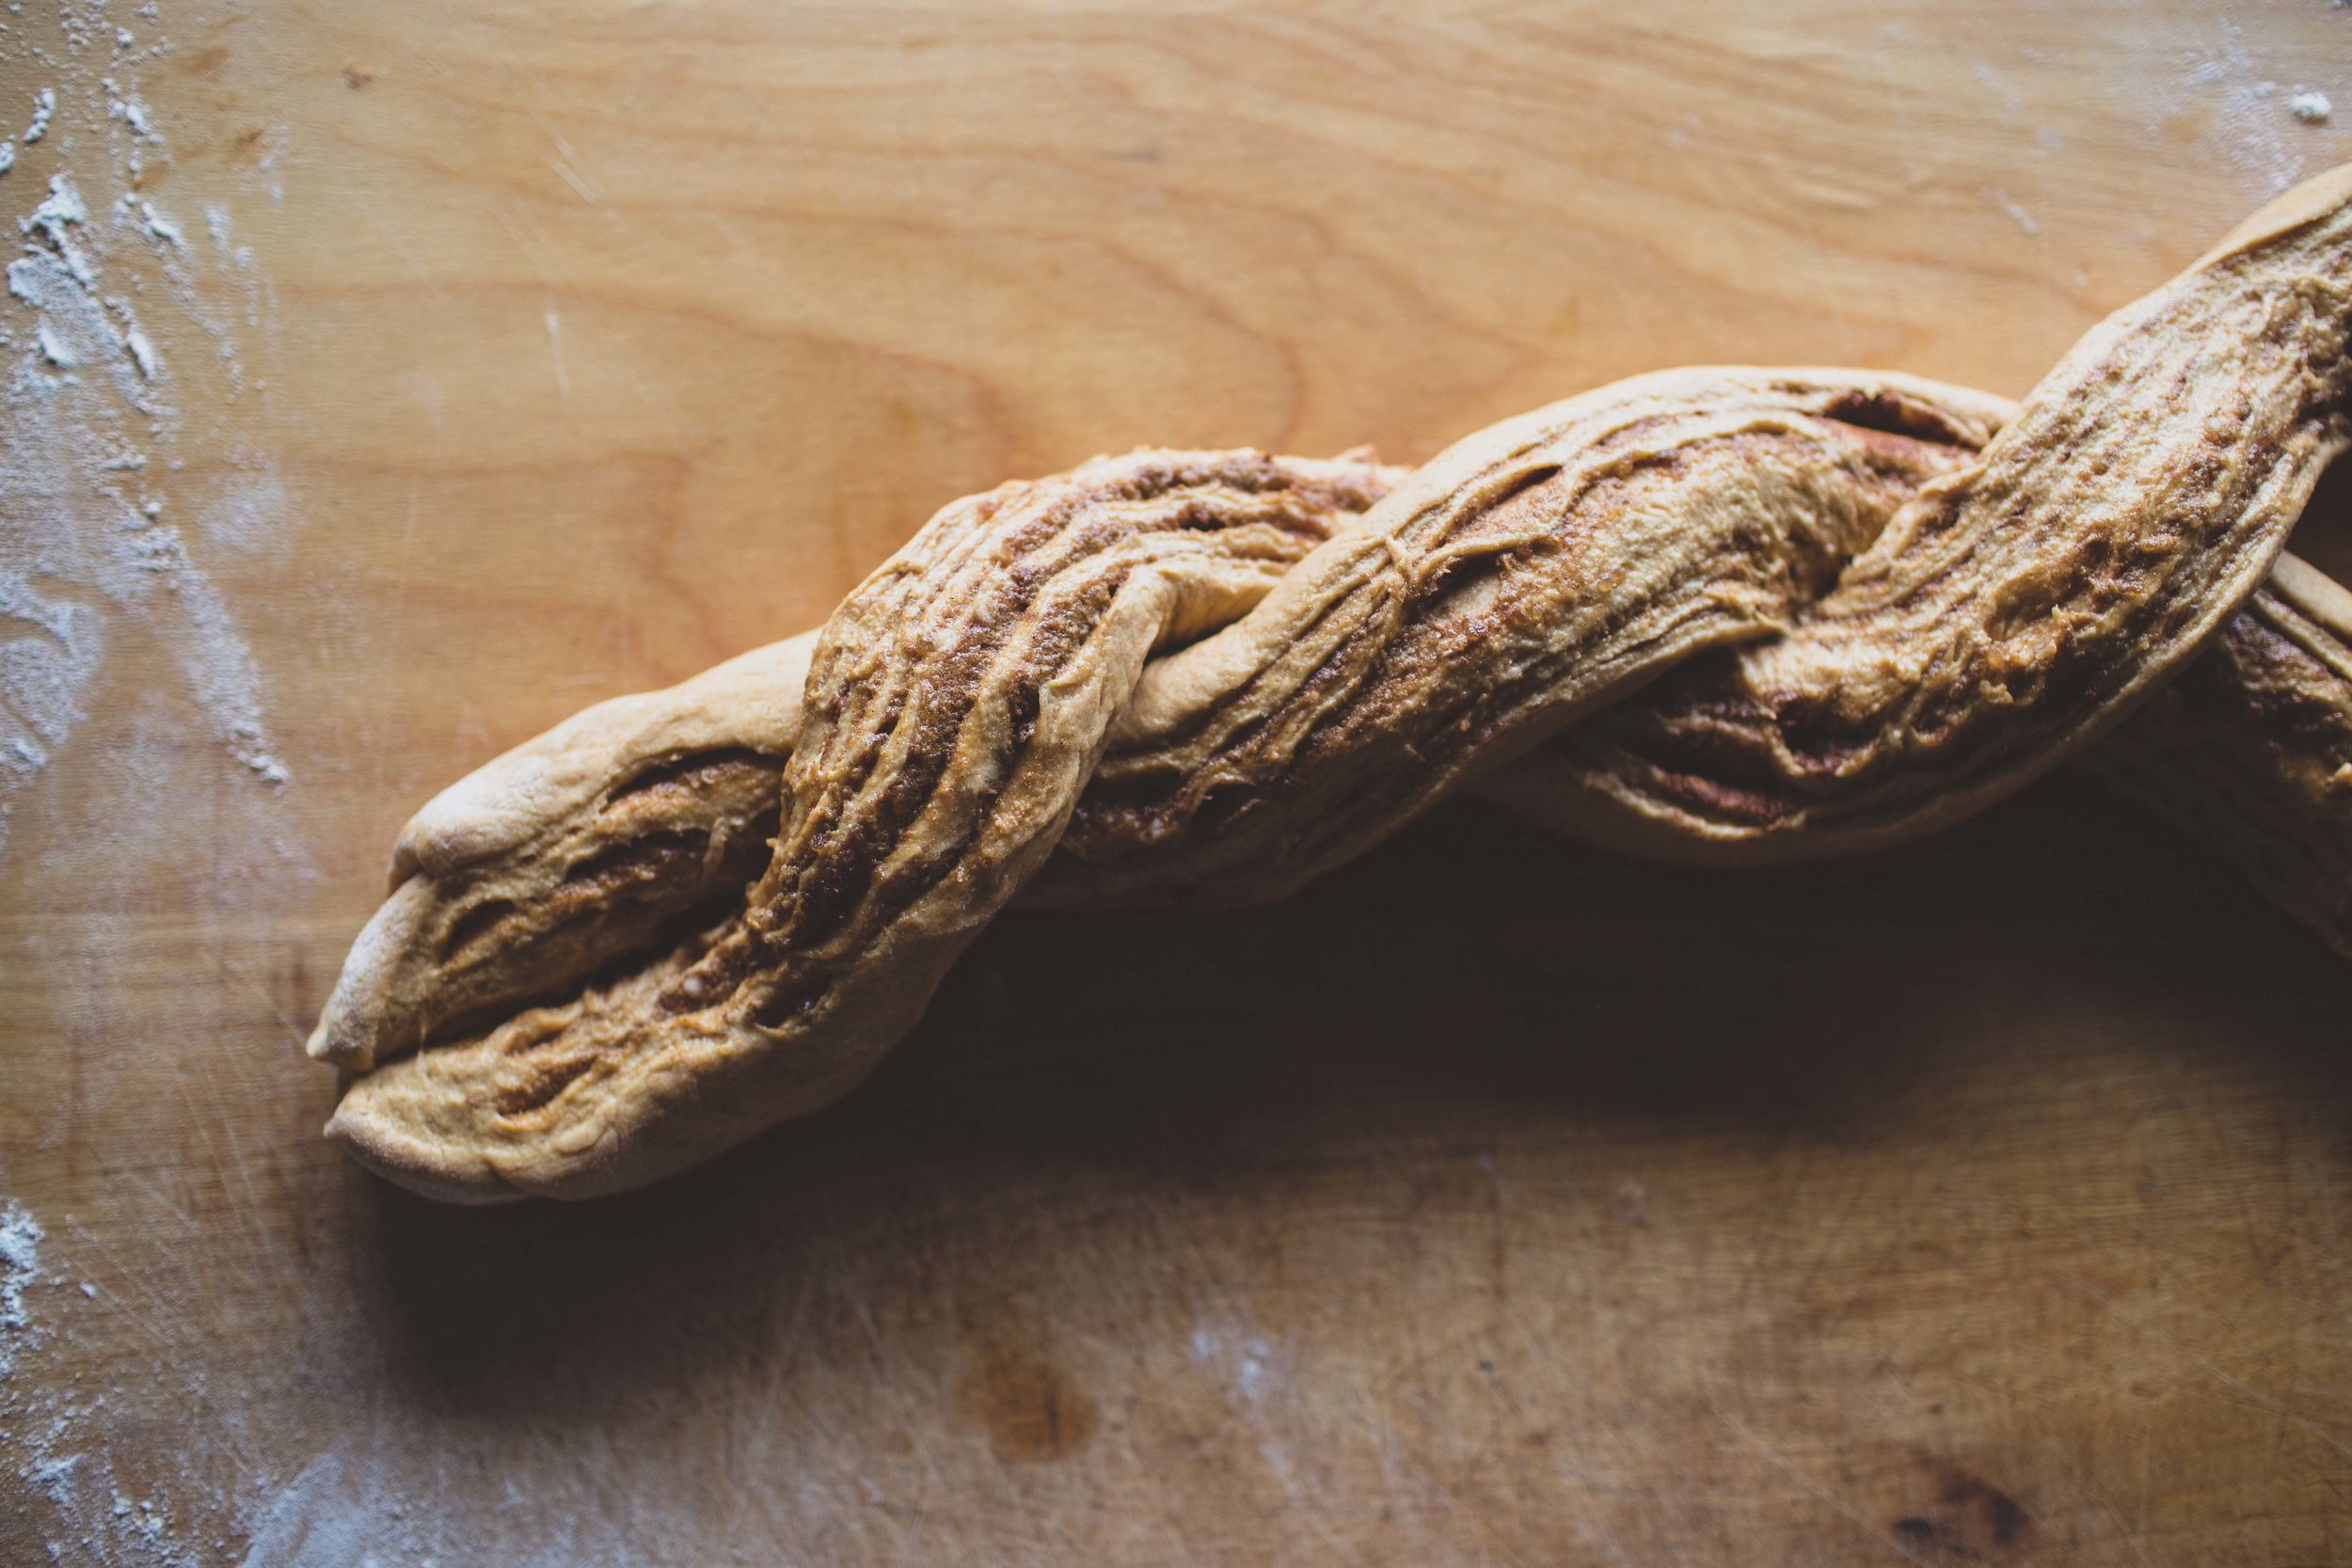
9. Slick the log all the way down the middle. Open up the two pieces of dough so that the two halves face outward. Carefully twist the two halves over each other to form a braid.

pumpkincinnamontwistbread-7.jpg

10. Prepare a circular baking pan or a cast iron skillet with a piece of parchment paper smeared with 1-2 tsp. butter. Place the braid in the cast iron so that it forms a circle, and pinch the two ends together. Let rise until almost doubled in size, or about 1.5 hours.

 
pumpkincinnamontwistbread-8.jpg
 

11. Preheat the oven to 375º F. Place the bread in the oven for 40-45 minutes. Let it cool before slicing into it!

 
pumpkincinnamontwistbread-11.jpg
pumpkincinnamontwistbread-13.jpg